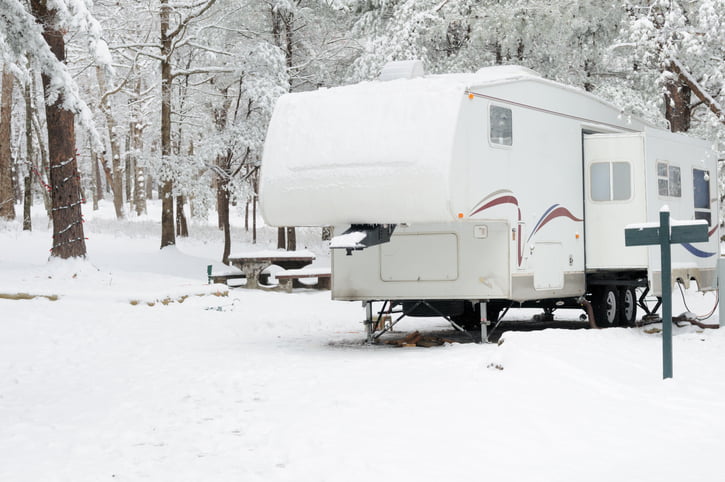
Preparing for winter is an annual chore that defines us as Canadians. Putting on our snow tires, turning off our outside water, getting our lawn furniture into storage, and preparing our RVs for their long, cold winter nap. Like most of you, I’ve always used RV antifreeze in my water lines for winter storage, which works fine. However, my wife told me last year that even after a month of running water through our trailer, she could still taste antifreeze in the city water from the tap. If you’ve noticed this in your trailer, the only alternative is to evacuate the water lines thoroughly.
Compressed air is what’s required for this job. Most RV dealers who winterize units for their customers do this regularly. Of course, this requires an air compressor. RV antifreeze is your only choice if you don’t have access to one. However, many of us have small home compressors that will work fine. I should also mention that using air saves on the cost of the antifreeze – and the mess.
Step 1: Drain the waste tanks and freshwater tank.
If you want to spray/clean the black water tank, now is the time. Remember to drain everything first, using compressed air or antifreeze.
Step 2: Remove the anode rod from the hot water tank and drain it.
Before you begin, make sure it’s not hot. After it’s been drained, re-install the rod. Make sure the electric switches for heating the tank are off. This also applies to the wastewater tank heating pads. Don’t close the hot water bypass – you’ll also want air running through the hot water lines.
Step 3: Open all the taps in the unit, hot and cold.
This includes hot and cold taps and the taps in the shower. Take the shower head and lay it on the floor pan of the shower to drain the loop in the hose and leave it there. Most RVs have low-point drains outside for hot and cold lines. Open these and leave them open.
Step 4: Run your 12V demand water pump for a few minutes.
This will pull more water out of the lines, but most importantly, out of the pump itself. When it’s down to just drips, shut it off.
Step 5: Empty your water filter housing.
If you have a water filter (factory or aftermarket) this is the time to empty any permanently installed filter housing. Remove the filter, leave the housing empty, and reinstall it.
Tip: place a new filter nearby so you can install it when you open in the spring.
Step 6: Blowing out the lines with compressed air.
To use compressed air on your system, you’ll need an adapter. This is a brass screw-in connector that fits into the city water inlet. It has a nipple end that will attach to the air hose from your compressor. These cost a few dollars and are available at any RV or hardware store. When I reached this step, I made up a four-foot section of hose, so I didn’t have to deal with the normal 20-foot hose I use.
By blowing compressed air through the city water inlet, you’re bypassing the demand pump, which at this point is already de-watered.
A word about pressure: I set my compressor to cut out at 40 psi – I’ve found this amount of air moves the water but doesn’t cause damage to the lines. If you don’t have a cut-out switch (or don’t know where it is), hook up the airline and start the compressor. Watch the pressure gauge, and when it gets to 40 psi, shut it off, drain it, and repeat until you’re happy with the result.
Note: Remember to open the taps on any outdoor showers or kitchens.
At this point I have to mention that there are two methods to blowing out the lines – and plenty debate around each one. Some prefer to shut all the taps and valves, except one. With one open, they blow the lines, shut it, move to next one, and repeat. Others (like myself), find that even with all the taps and valves open, the air blows out enough water to suffice.
Step 7: Add just a little bit of antifreeze.
It would be best if you still had some antifreeze, but only for the P-traps in the sinks and shower drain. Adding a few cups down the toilet will mix with any residual water. Remember, even if there’s a bit of water left here and there in the system, ice is only a problem when the lines are closed, and the water has nowhere to expand to.
That’s it. No RV antifreeze in the water lines, and no weird taste or smell in the water next spring!
Interested in learning more maintenance tips and tricks for your RV? Keep an eye on our blog and sign up for our monthly newsletter!
Related Articles
Hershey RV Show – Brinkley and Winnebago Travel Trailers
RVers are always asking “what’s new?” Hence the reason that over 46,000 people visited the Hershey RV Show this past September. As one of the biggest shows in North America, RV manufacturers use it to showcase its newest products; coming here to gauge interest from...

Canada’s Storybook Sites: Where Kids Meet Canadian History
History. Before your eyes glaze over, consider that Canada is chock-full of fun ways to explore and engage kids in the past of this amazing country. And does history matter? Sure does. Consider this famous quote: “A generation which ignores history has no past and no...
Gas or Diesel: How to Decide
Why do I love diesel? I blame my father. In 1970 I was twelve years old, sitting home during March break. The phone rang and my dad asked me, “do you want to go to Florida?” Of course I did. “Well pack a bag and I’ll be home in 20 minutes to get you.” In 1970 my dad...

