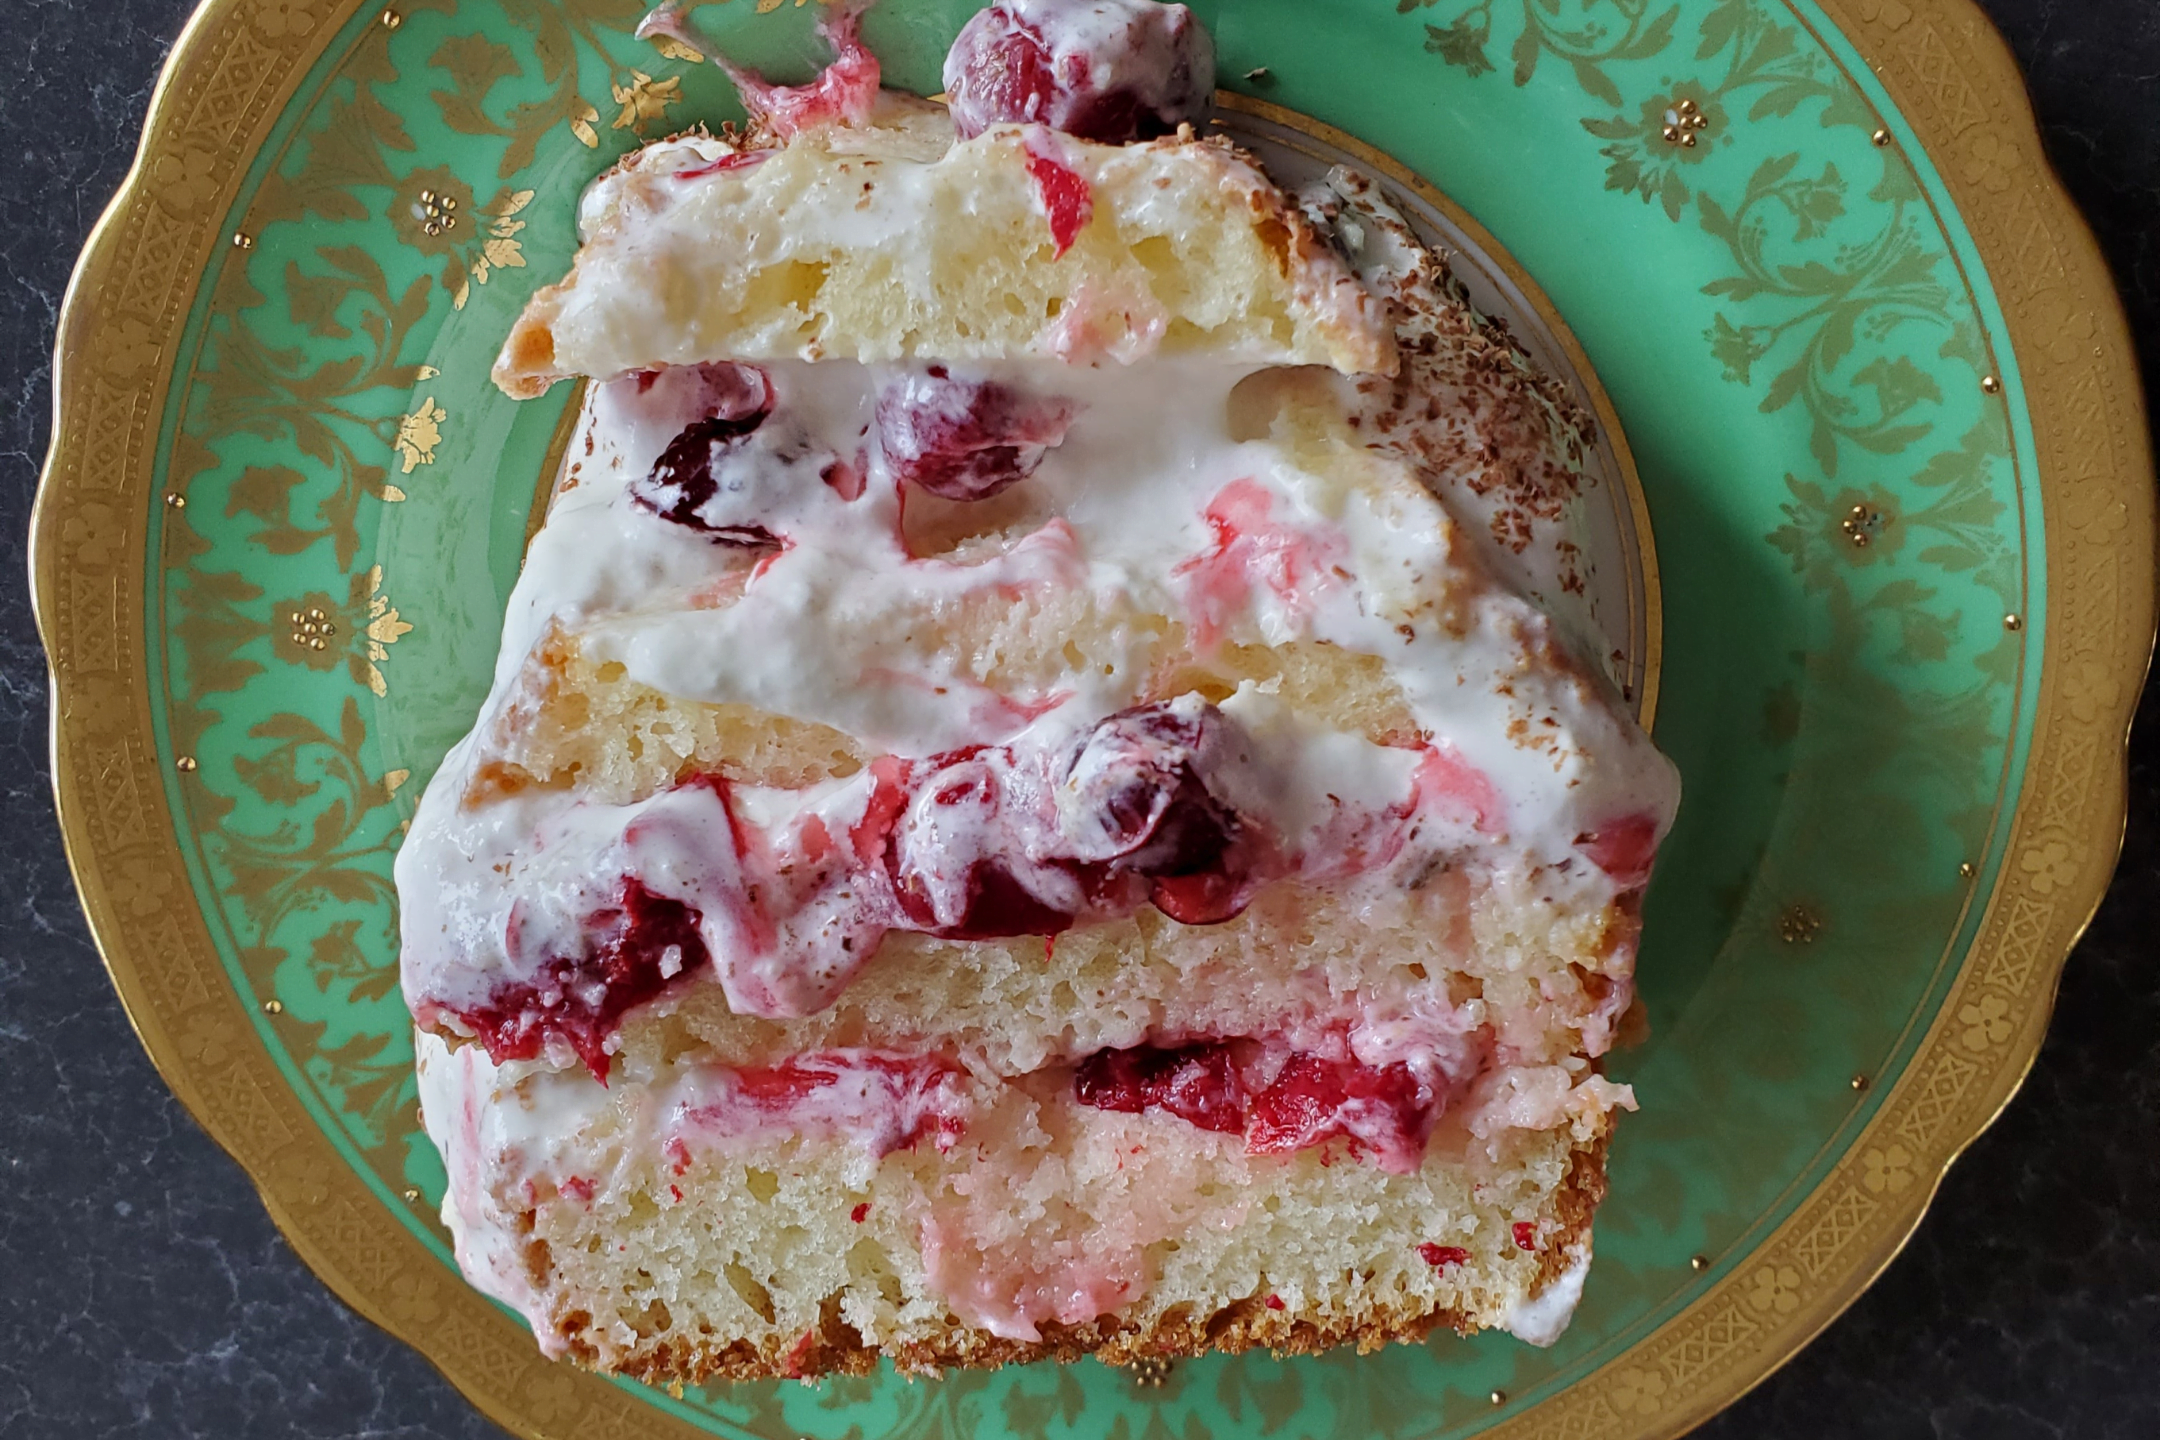
Here we are at the end of another RV season. We enjoyed the last glorious autumn colours, warmed our feet and hands at our final campfire, and winterized the RV. Now is a great time to start thinking about holiday baking, and this easy yule log recipe is one you don’t want to miss this season.
The Bûche de Noël (Yule Log)
In old Nordic traditions, a log was brought into the house and slowly fed into the hearth to burn for several days. This was in celebration of a pagan mid-winter festival around the time of the winter solstice when sunlit days were short and long cold nights would take the heart out of anyone.
In the late 1800s, with fireplaces becoming smaller, the practice of burning the Yule log started to die out. Thanks to a Parisian pastry maker, the Yule log moved to the table in the form of a rolled sponge cake decorated with chocolate and sugar to appear as a snowflake-dusted log.
In Europe, the bûche de Noël is usually presented as a dark log covered with bark from the forest (hence the chocolate).
In Canada, they are snow-covered!
Easy Bûche de Noël Recipe for RVers
Our recipe for bûche de Noël can be made year-round, even at campsites. The best part? You’ll only need four ingredients to make it, and they can all be purchased in a store! Holidays are already fraught with pressures: Let this dessert be a fun way to enjoy the season. Maybe you can even get the kids or grandkids involved!
Ingredients for our easy bûche de Noël:

- one (1) store-bought pound cake loaf
- one (1) tin of cherry pie filling
- one (1) large can of spray whipped cream
- one (1) chocolate bar (real chocolate, not milk chocolate)
How to make our easy bûche de Noël:
- Open the can of pie filling, remove five cherries, and set them aside.
- Choose the tray you’ll serve it on and cover the bottom with plastic wrap – this will make clean-up easier!
- Remove the wrapping and place the pound cake on a cutting board.
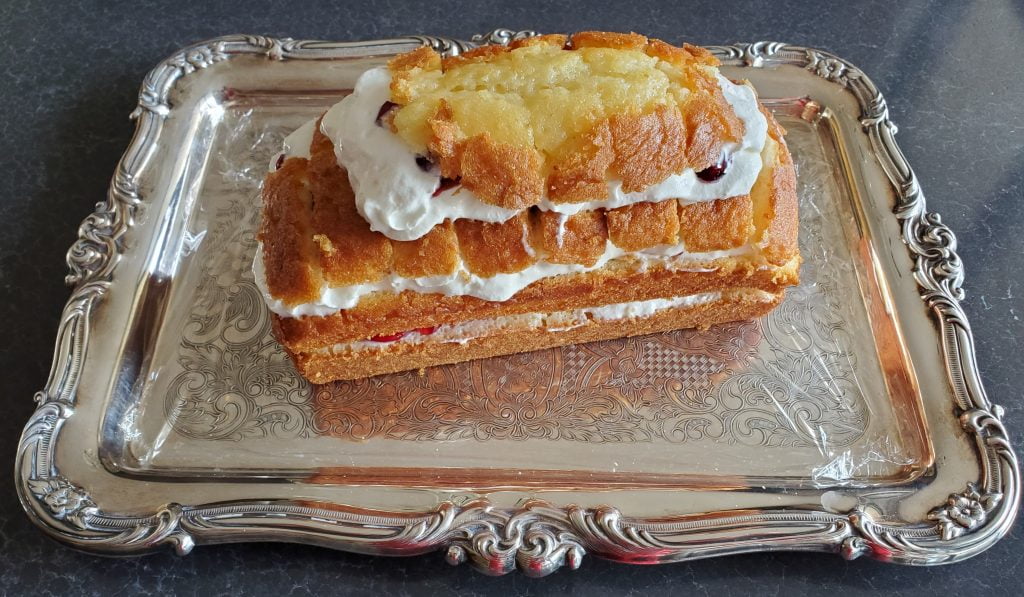
- Using a sharp knife, slice the cake lengthwise into three or four even layers (about 1.5 cm thickness recommended).
- Place the bottom layer on the serving tray, positioned however you’d like (we chose diagonal).
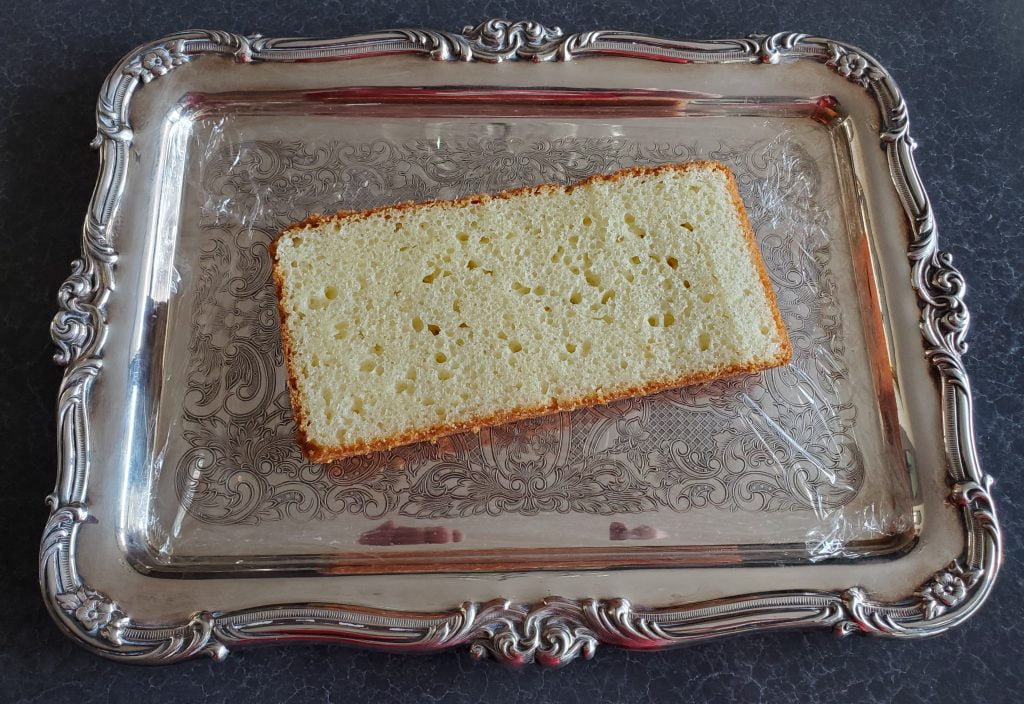
- Shake the container of whipped cream vigorously for about 15 seconds and spray it onto the bottom layer with enough to cover the inside of the cake. Leave a frame of about 1 cm free of whipped cream.
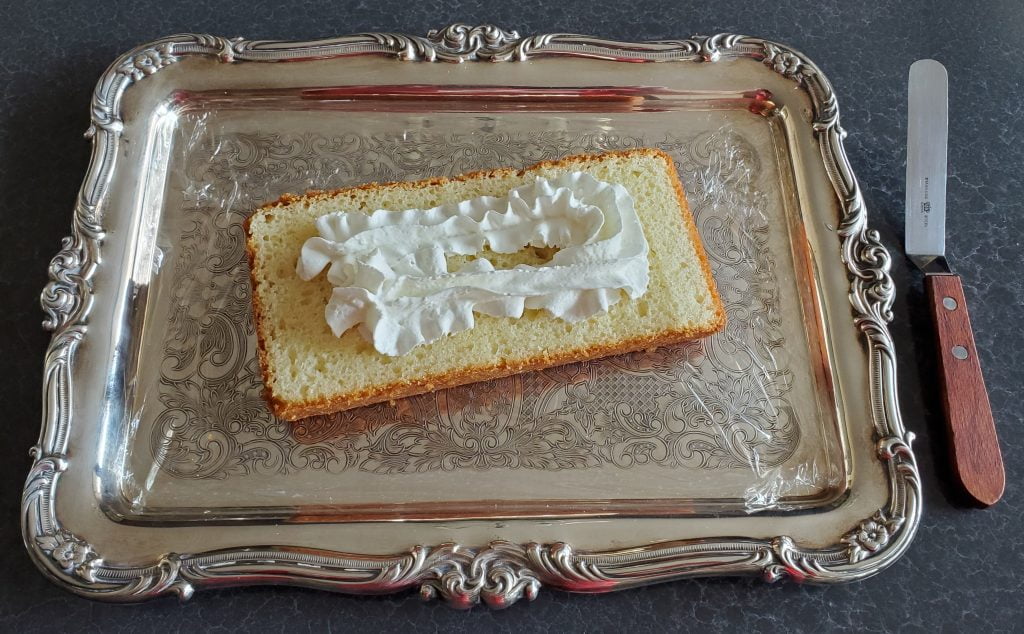
- Using a small knife or spatula, spread the whipped cream into a top layer, covering evenly (including the empty edge frame).
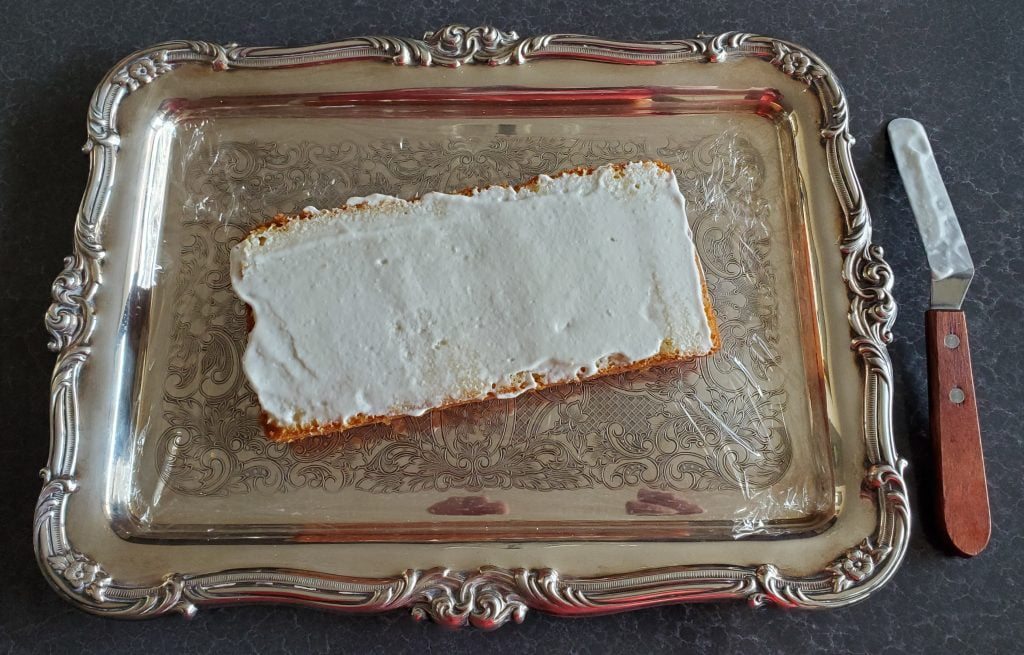
- Remove 15 – 20 cherries from the can, one at a time, and place them evenly on the layer of whipped cream.
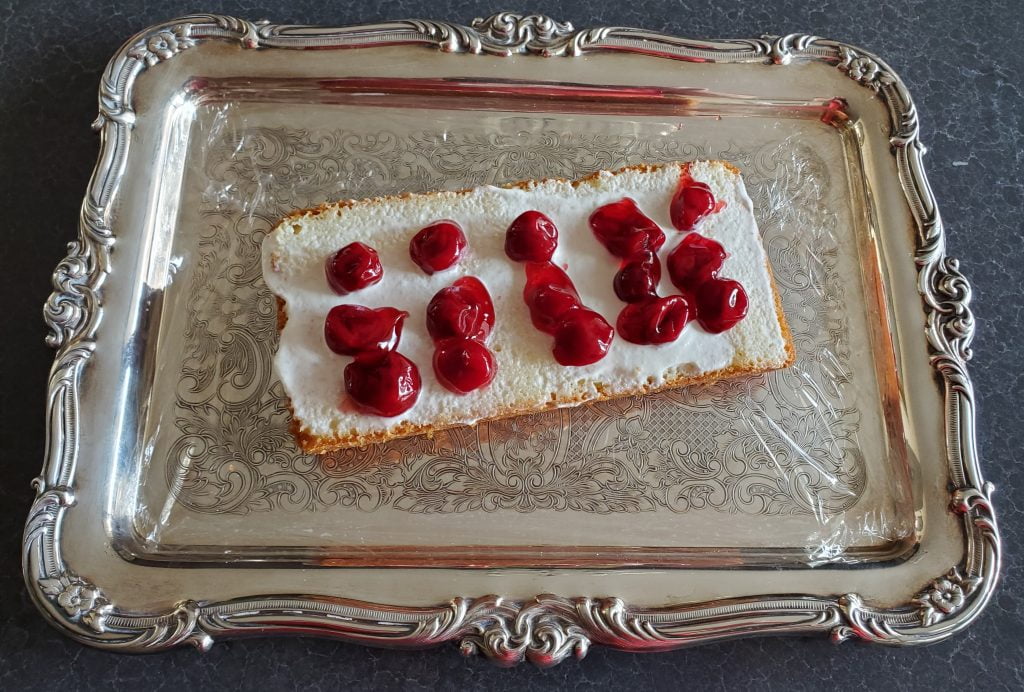
- Add a little more whipped cream from the can onto the cherries and smear with the knife or spatula to even the coverage.
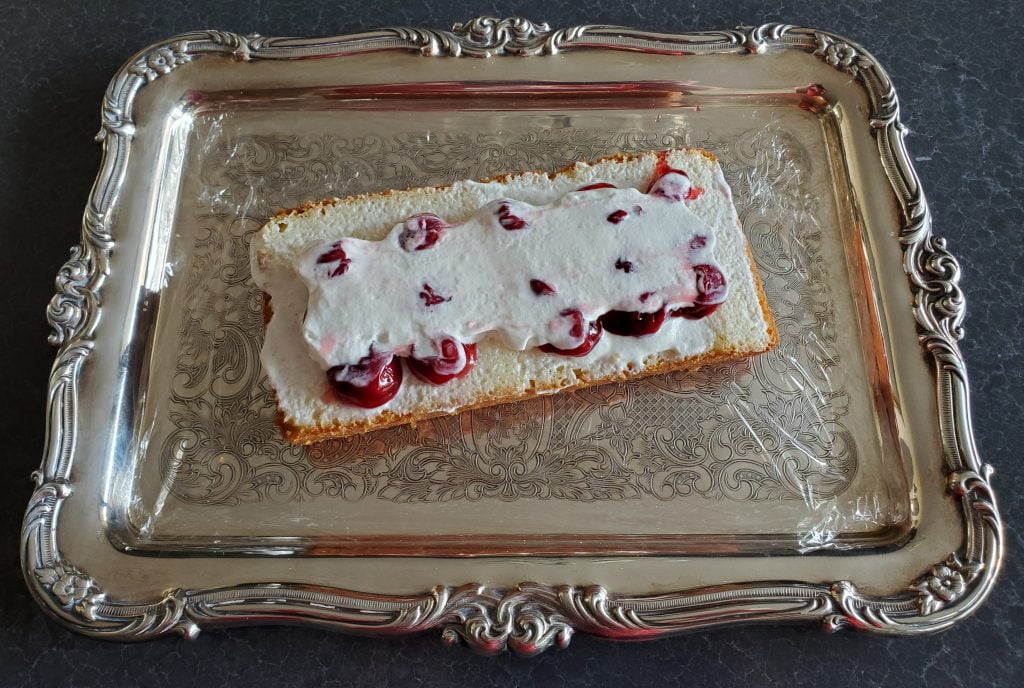
- Take the next cake layer and carefully position it on top of the first (bottom) layer.
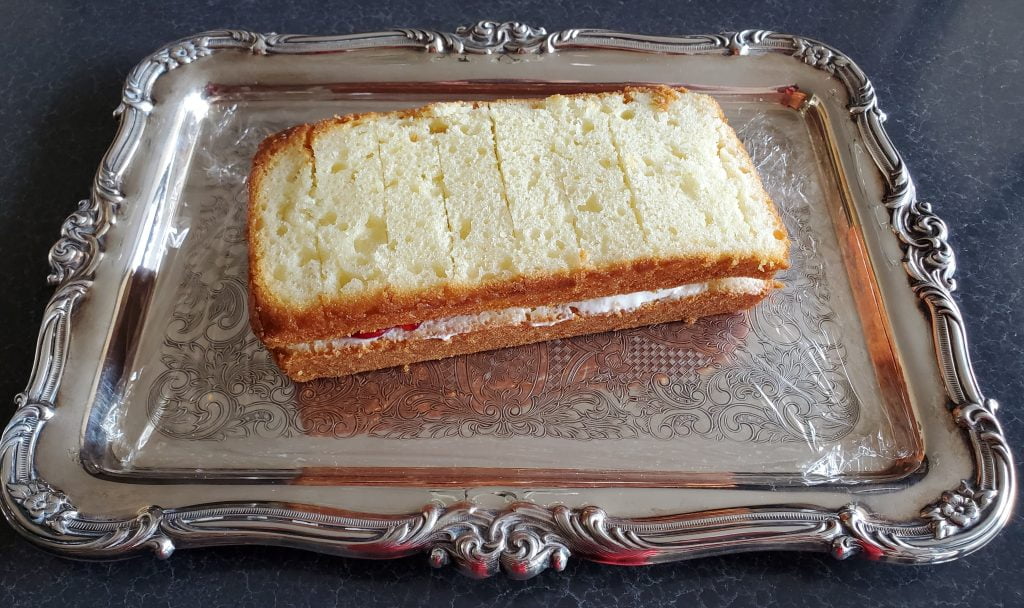
- Add whipped cream and cherries as you did for the bottom layer.
- Repeat for the remaining one or two layers.
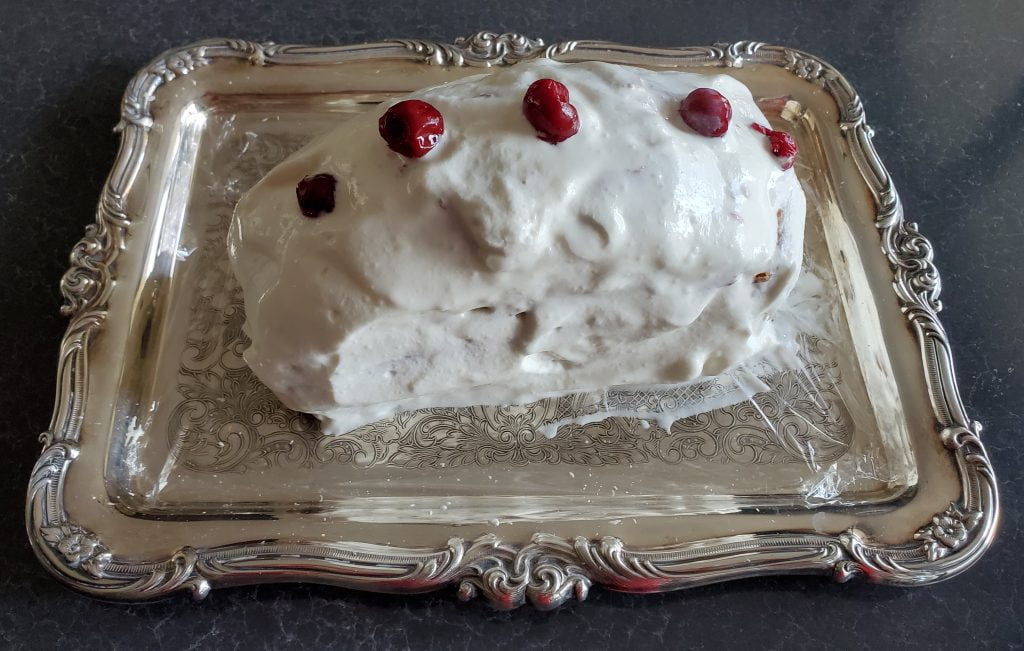
- When all layers have been added, finish the bûche by covering it entirely with whipped cream and smoothing out the surfaces.
- Take the five reserved cherries, run them under warm water to remove the heavy syrup clinging to them, and use them to decorate the top of the bûche.
- Grate the chocolate bar a little (or a lot!) onto the top.
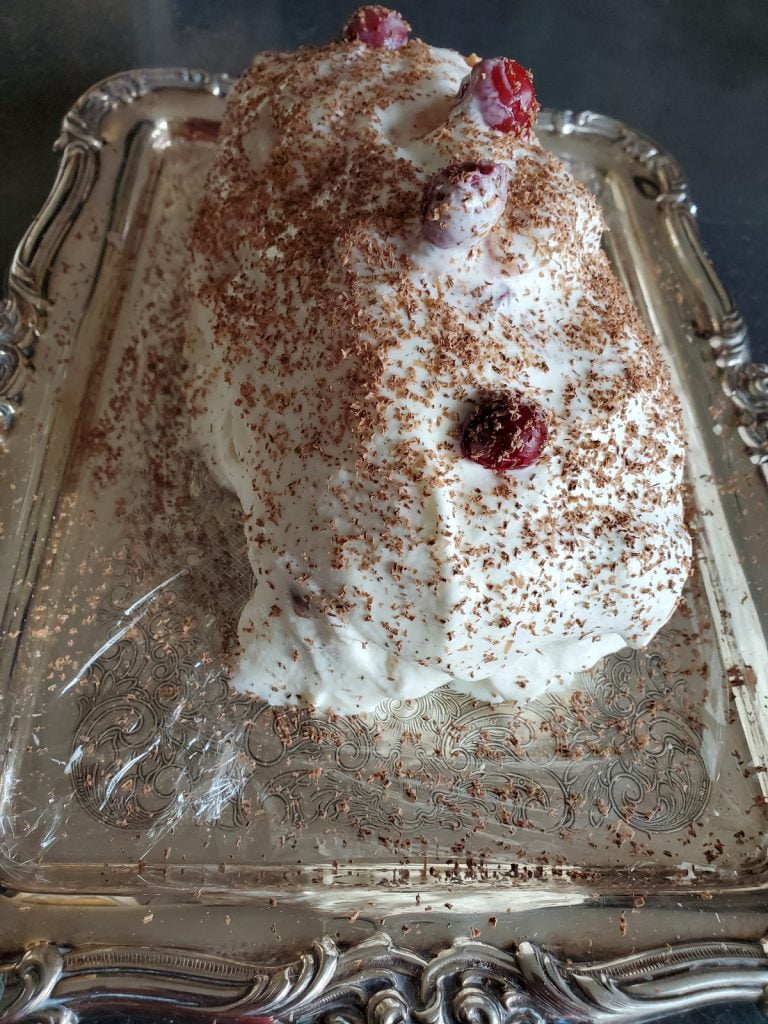
The final step? Serve and enjoy immediately!

