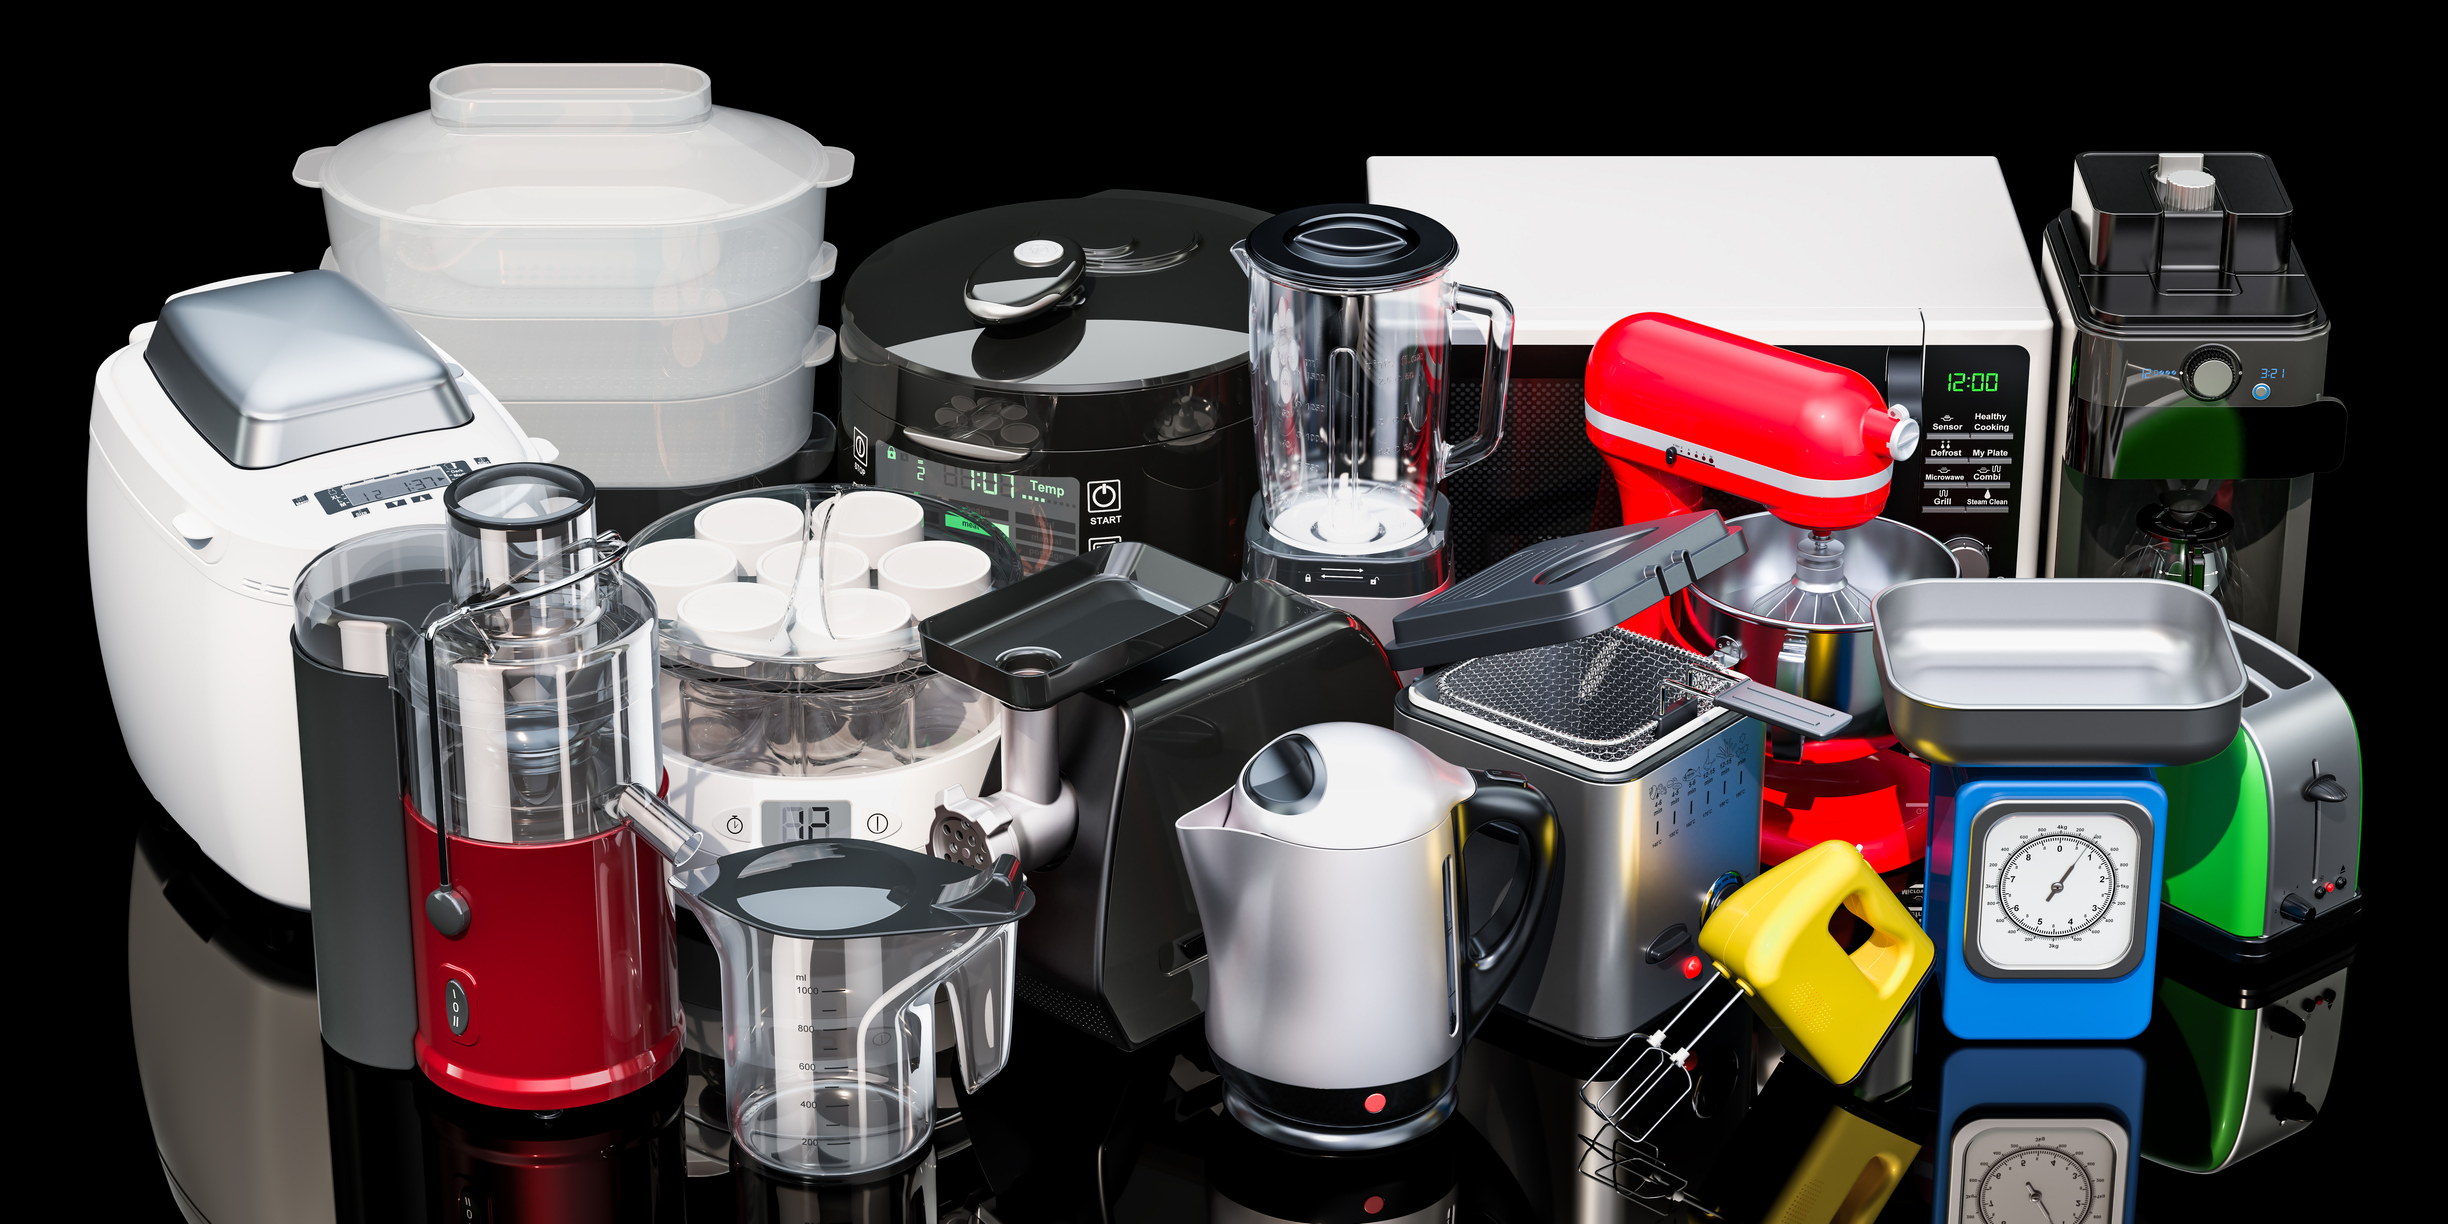
Small kitchen appliances have come a long way since the stovetop pressure cookers our mothers and grandmothers used in the 1940’s/1950’s and the slow cookers (“crockpots”) from the 1970’s. In addition to these tried-and-true standbys, we now have multicookers (“Instant Pot”), air fryers, and thermal cookers to choose from. Pressure cookers, slow cookers, and air fryers can be standalone or incorporated in a multicooker such as the 13-in-1 Instant Pot which includes an air fryer, pressure cooker, slow cooker and other options to enable you to sauté, bake, steam, dehydrate, and even sous-vide.
With so many choices, how do RVers decide on which ones to include in their mini kitchens?
Regardless of whether you are a full-timer or a weekender, every kitchen gadget you bring onboard needs to serve more than one purpose and be used regularly. They need to be easy to clean, easy to store, and easy to secure while you’re in transit.
Size is a key consideration. Our fellow Airstream Tin Can Tourists often mention the unique design of their kitchen spaces which are rounded and sloping, not squared off like a cupboard or a cabinet. This means that the 3-quart Instant Pot option is the maximum size they can store. Those in Class A’s or larger 5th wheels may be able to accommodate the larger sizes (Instant Pot offers 6-, 7.5-, and 8-quart sizes as well).
Another consideration is the type of cooking you are most comfortable with and what types of meals you are planning to cook while RVing. If you frequently use an Instant Pot at home, then you are more likely to use it regularly while on board. If your Instant Pot is still in its original giftwrapped box, chances are you won’t be fully utilizing it when RVing! If you’re a frequent user of an air fryer and/or a multicooker at home, then by all means consider bringing these with you.
The type of RVing you’ll be doing is another consideration when deciding which kitchen appliances to use. Air fryers for example, can draw up to 15 amps. This may be okay while you are in a fully serviced RV park but would not be okay if you want to travel off-grid. It’s also critical to pay attention to how the outlets in your RV are configured and the capacity of your inverter (if you have one).
If your RV is already equipped with a convection oven (either in your gas oven or in combo with your microwave) you do not need a separate standalone air fryer. Air fryers are essentially mini convection ovens. Some RVers have been able to achieve the same effect as air fryers by using crisping trays in their convection ovens.
An appliance that’s becoming increasingly well-known especially for off-grid enthusiasts is the thermal cooker. Using thermal insulation to retain heat and cook food without the continuous use of fuel or other heat sources, it’s basically a non-electric crockpot. For safety, be sure to use an accurate thermometer to ensure that the contents (especially if you are cooking meat) are kept above 72C food safety zone at all times.
By the time you read this article, my husband Martin and I will be more than half-way through a four-month 23,000 km three-oceans Canadian road trip. We’ve downsized from a 40-foot Class A diesel pusher to a 24-foot Class C (without slides). This has resulted in major changes to the types of kitchen appliances we’ve brought on board. Although we’re great fans of the air fryer in our 13-in-1 Instant Pot, we elected to leave it behind due to its size and its electrical demands. We have two multicookers with us – a basic Instant Pot and our trusted 8-year-old Breville Fast-Slow Pro Multi Cooker. We use the Instant Pot primarily for making yogurt (and as a fallback for the Breville). This means that with these two appliances, we can pressure cook, slow cook, sauté, and make yogurt. (Note: If the Breville had a yogurt feature we would of course have only one multicooker on board.) Although the Breville makes great chunky soup, we’ve indulged in bringing along a soup maker that enables us to make from-scratch soups in as little as 18 minutes.
Here’s an air fryer (or convection oven) idea that’s great to serve at breakfast to accompany your favourite eggs or to prepare as a side with your favourite main course after a great day of RVing!
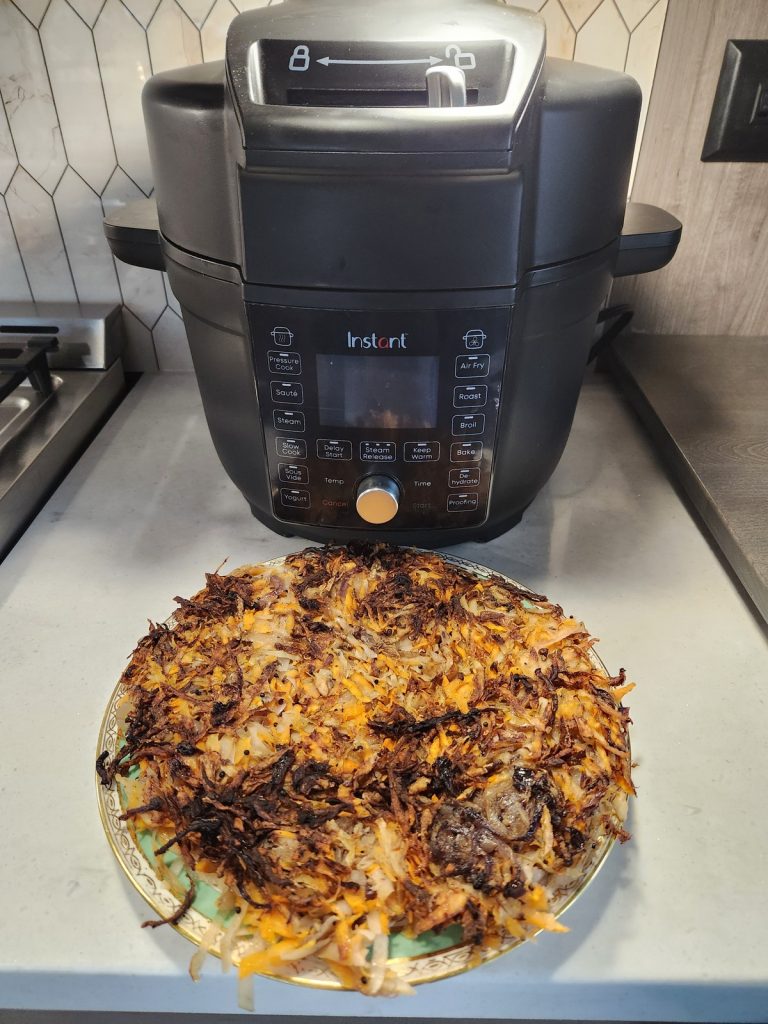
Air-Fryer Home Fries for the RV
Adapted homecookedroots.com
Ingredients
-
-
- 2 onions, yellow or red
- 10 ml black or brown whole mustard seed
- 20 ml whole cumin seed
- 1 medium baking potato
- 1 medium sweet potato
- 5 ml salt
- 10 ml fresh ground pepper
- 50 ml cooking oil (grapeseed or other vegetable oil, but not coconut oil)
- 150 ml sharp/old cheddar cheese shredded (optional)
- 500 ml cold water
-
Materials
-
-
- Box grater
- Colander/strainer
- Large bowl
- Large clean, dry tea towel
- Wooden spoon
- Air fryer
-
Method
- Clean and grate both the baking potato and the sweet potato and transfer into a large bowl.
- Add cold water enough to just cover the grated potatoes. Set aside for 30 minutes.
- Peel and then thinly slice the onions and set them aside.
- Heat air-fryer to medium-high (375 F).
- Add mustard and cumin seeds.
- Wait until the cumin and mustard seeds starts to pop, then wait another 30 seconds.
- Add oil and stir with wooden spoon to coat the heated cumin and mustard seeds.
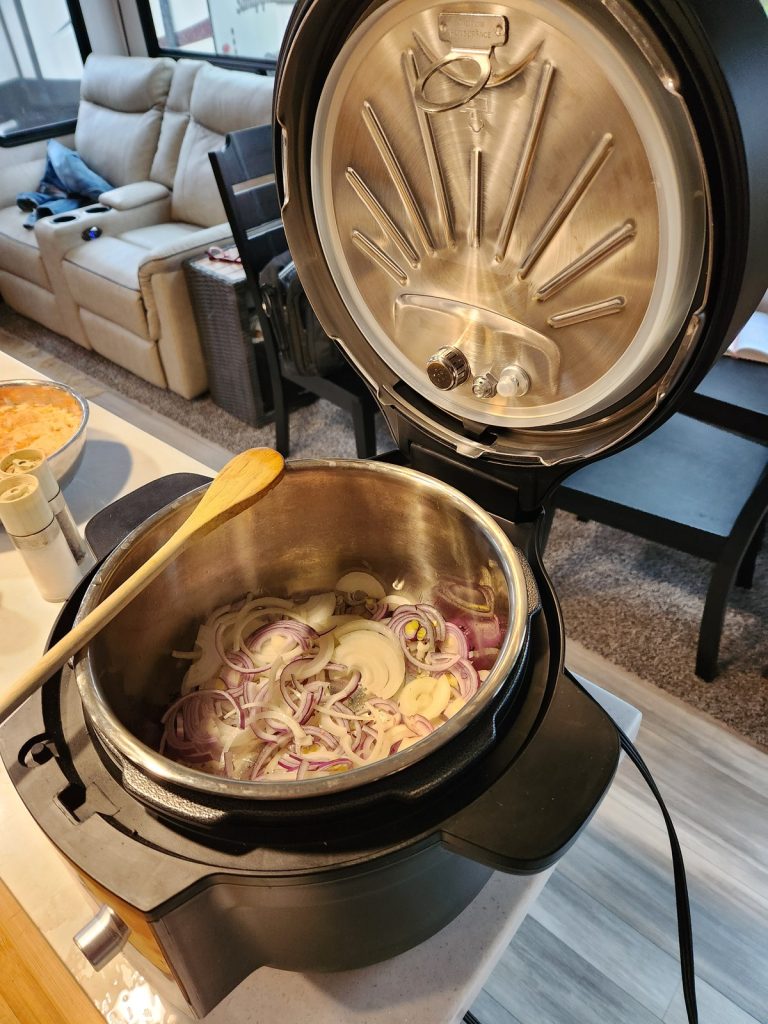
- Add the onions, stir to coat and break up.
- Lower temperature to medium (360 F).
- Sauté onions for about 15 minutes until they are fully clarified and beginning to caramelize.
- Stir in the salt and pepper.
- Continue to caramelize the onions for about 10 minutes more, stirring occasionally.
- Drain the shredded potatoes in colander or strainer (to remove excess starch). Press down firmly to remove as much water as possible.
- Pour shredded potatoes onto a clean large dishtowel, roll up and squeeze over the sink to extract more water.
- Add the shredded potatoes to the contents in the air-fryer. Stir to thoroughly mix and coat.
- Add the grated cheese (optional) and stir to thoroughly mix and coat.
- Close the lid and air-fry at 360 degrees for 22 minutes.
- Remove and enjoy!
Related Articles
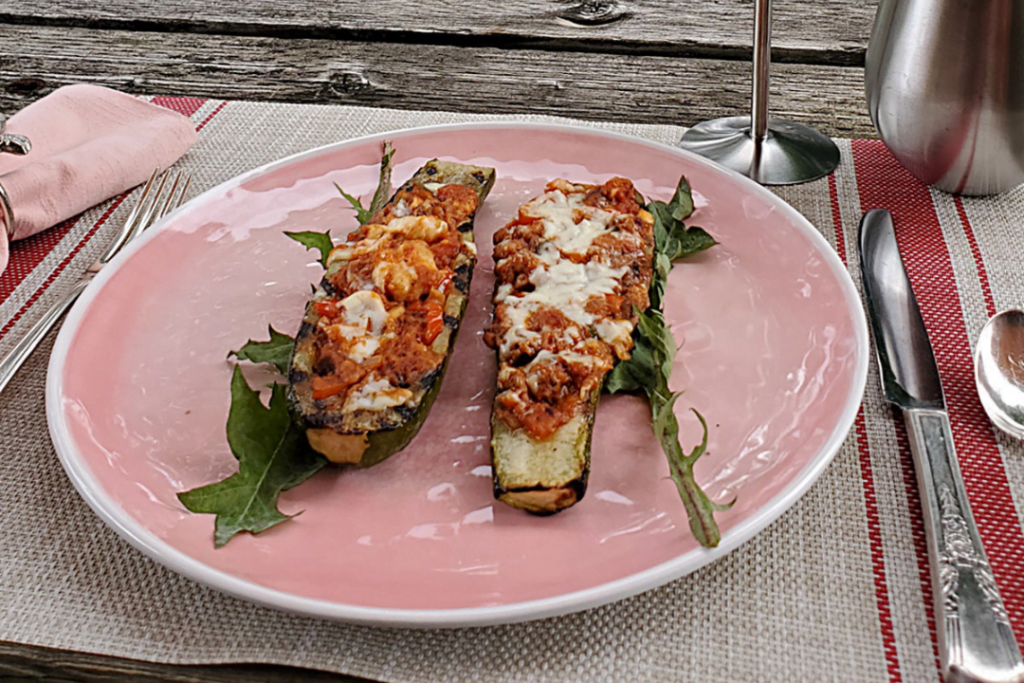
How to Make Zucchini Boats on the BBQ or Campfire
One of the delights of having a seasonal RV site is the opportunity to learn from our fellow RVers. This year we’ve been learning how to grow vegetables from our home on wheels. Some of our fellow RVers have planted extensive vegetable gardens, including green and...
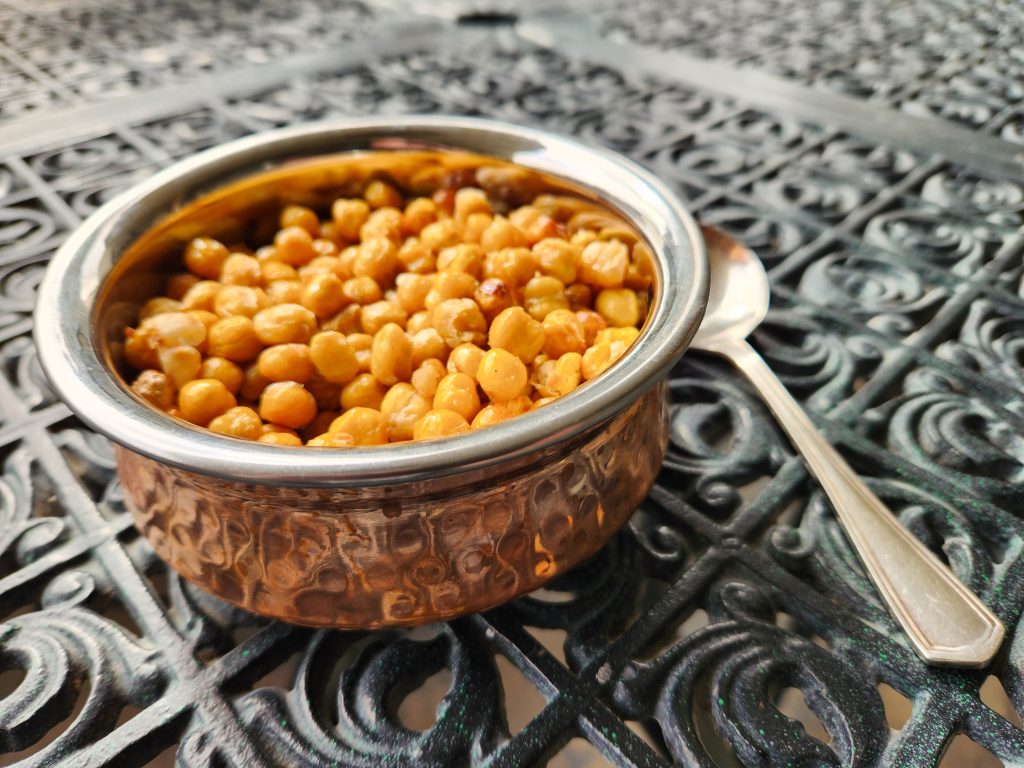
An Earth Day Treat: Easy Salt & Vinegar Roasted Chickpeas
Learn how to make your own, homemade roasted chickpeas. They’re a great, healthy snack.
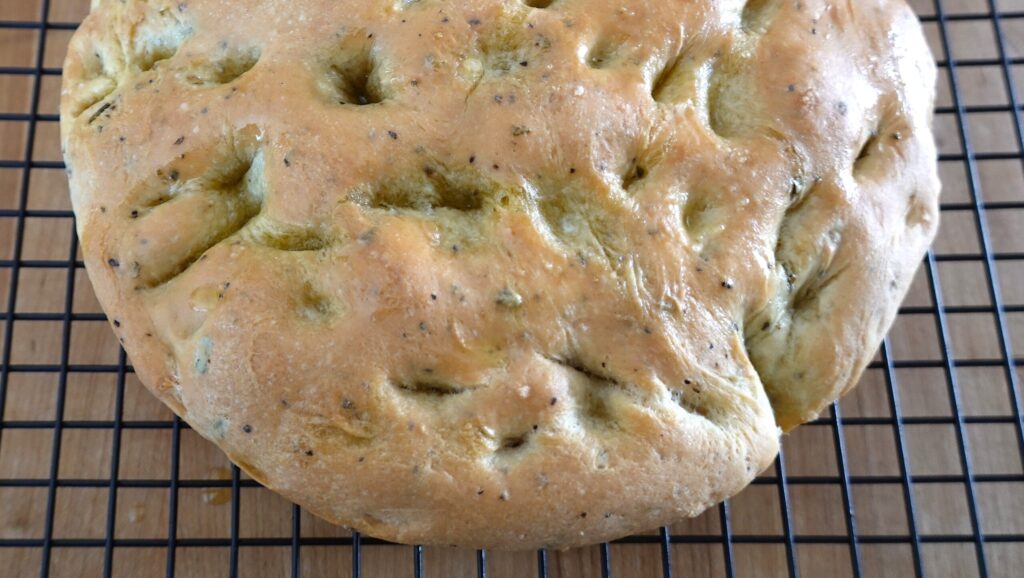
Perfect Pairings for Wine Tasting: Rosemary Focaccia and Herbed Goat Cheese Appetizer
What’s best for Happy Hour appetizers when returning to your RV after a day of wine tasting? How about something quick and easy you can make ahead, allowing you to enjoy your time with family and friends. Pull the cork on your favourites from the tasting, recount...

