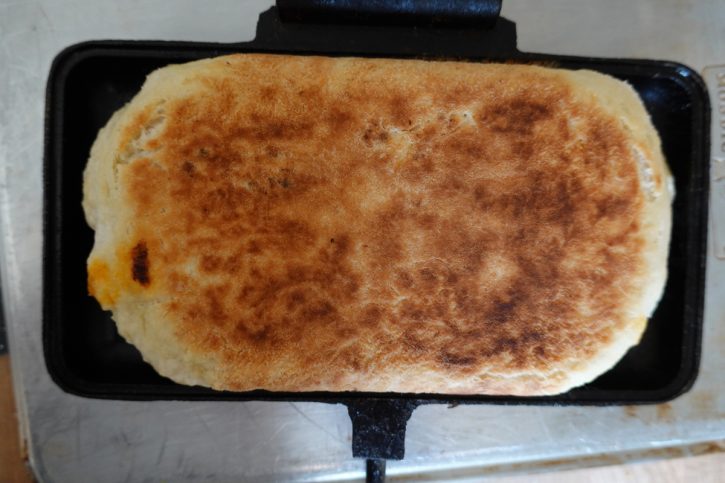
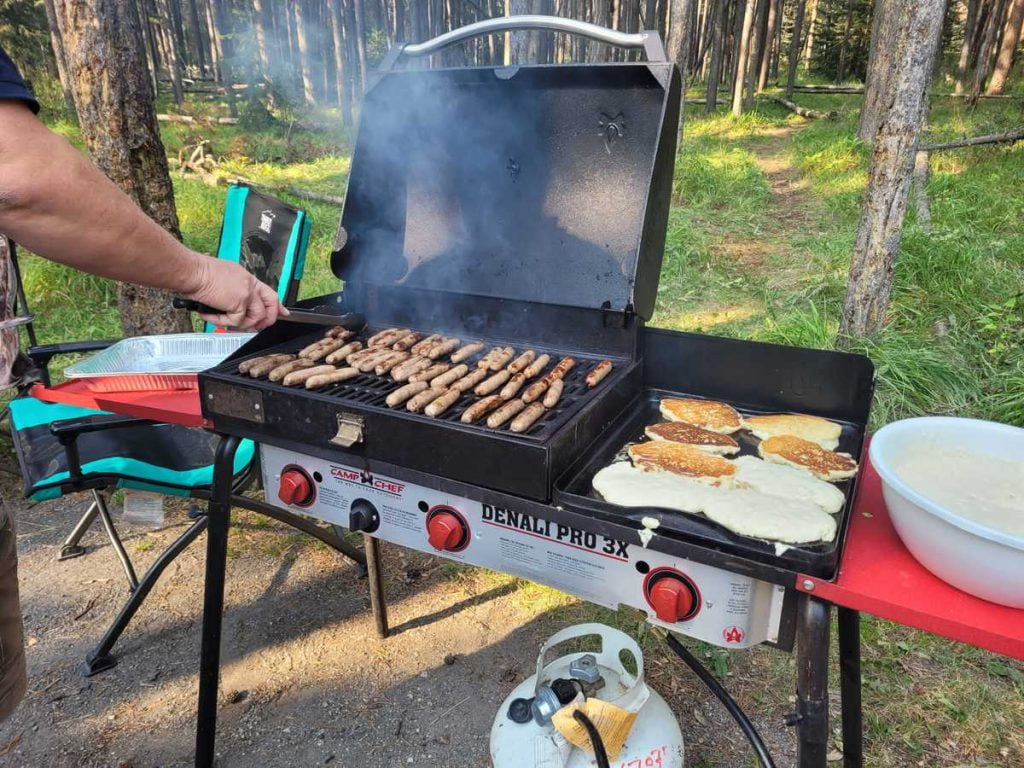
If you don’t have a pie iron and like to cook meals over the fire while camping, you might want to pick up a pie iron. Likely, your RV Dealer or favourite hardware store has a version. I used the double-wide rectangular Bass Pro branded one for this test, which worked perfectly. Pie irons are simple gadgets made of cast iron or cast aluminum, assembled like square clamshells, the two halves open wide for filling and separate for cleaning. They clip together to hold whatever is cooking inside. Pie iron cooking consists of placing ingredients on one half of the clamshell, closing and cutting a pair of wooden handles to lock, and directing the pie iron over the fire.
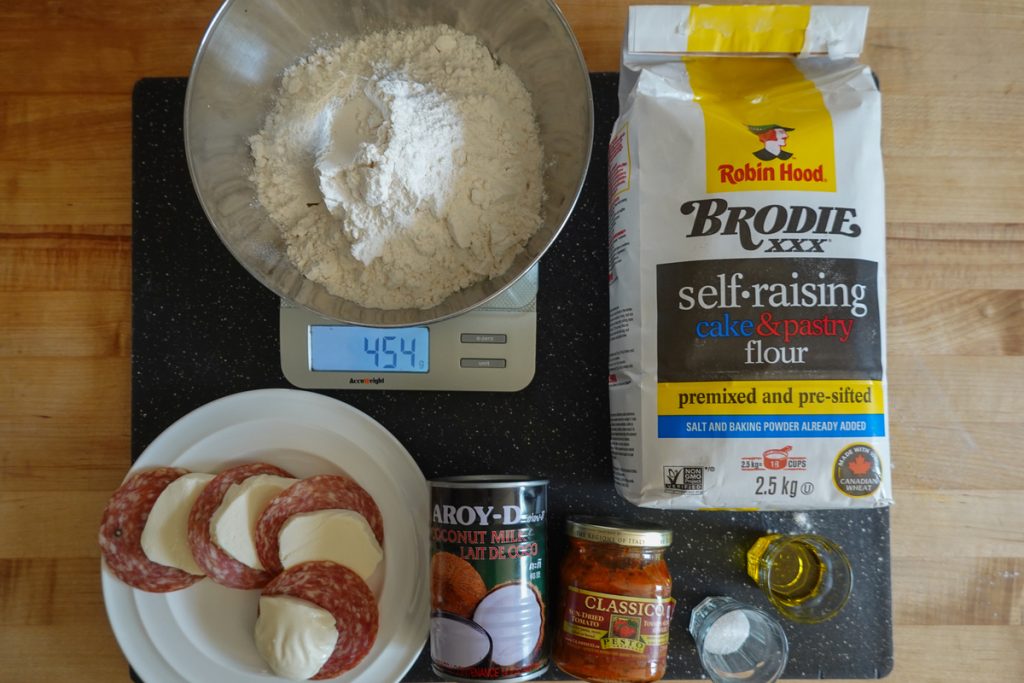
Ingredients used to make Genoa tomato and mozzarella hand pies.
My first pies were grilled cheese sandwiches or blueberry pie filling tucked into white buttered bread. But there are plenty more options—a little advanced preparation will leave your campfire guests licking their lips and you with unrestrained praise for your pie iron performance.
Asking for a pie iron recipe is like asking for a recipe for your frying pan––the options are endless. Check out these pastry/liners and filling options to get you started on your pie-iron path of culinary discovery. Below is a recipe for a quick bread pie liner with the texture between a Southern biscuit and Naan bread to get you started. Note that the recipe uses self-rising flour, a relative newcomer to grocery shelves in North America, even though it has long been a standard offering of flour in the UK for decades. I keep a bag of self-rising flour in my camping rig and a can or two of coconut milk to make these pies whenever the mood strikes me. (Self-rising flour can easily be adapted to recipes for pancakes, biscuits, muffins, and loaves.)
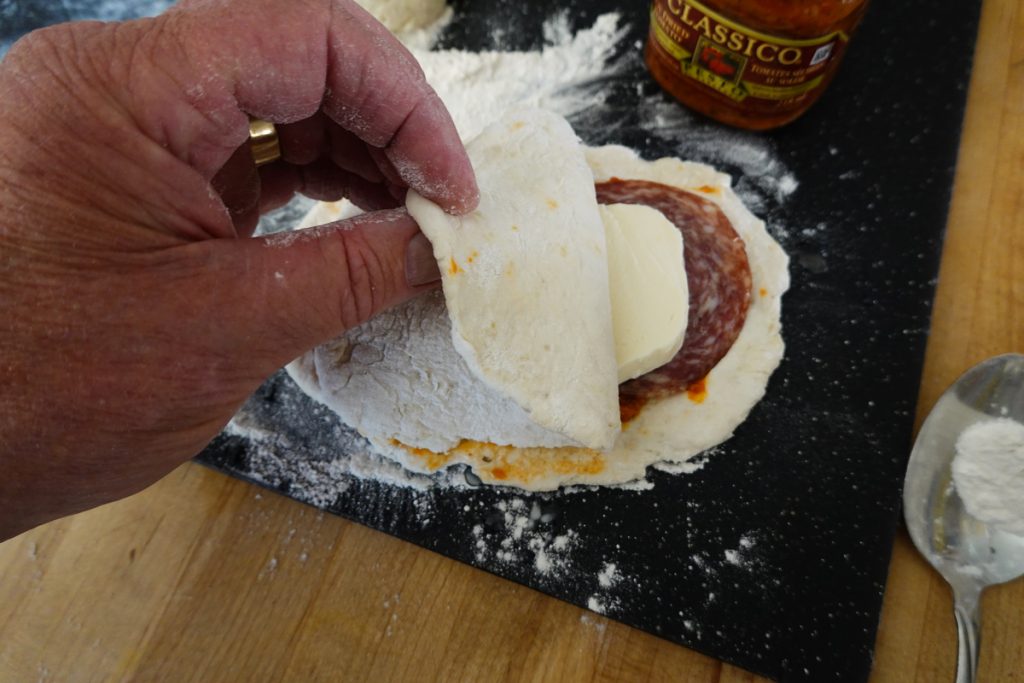
Moisten the edges of the lower dough, top and seal.
Genoa tomato and mozzarella hand pies for four
Tools and Equipment
- Mixing bowl
- Dinner fork
- gram scale or cup and teaspoon measures
- Wooden spoon
- Rolling pin (pop or wine bottle is a great camping substitute.)
- Steel spatula for transferring raw and cooked pies
- Double-wide pie iron
- Campfire or alternate heat source
Ingredients
(Makes four double-wide pies)
For the pastry
- 450 grams (about 4 cups) of self-rising flour
- 1-400 ml can of coconut milk
- ¾ teaspoon salt
- one tablespoon of olive oil
For the filling
- eight thick slices of Genoa salami (or anything else that suits your fancy, from ham to diced chicken)
- eight tablespoons of tomato pesto
- eight slices of fresh mozzarella
- Olive oil to brush the pastry
Method
- Weigh or measure the flour
- Add salt and stir into the flour
- Add coconut milk and olive oil
- Mix gently, turning the mixture with a wooden spoon to combine. When the dough comes together into a rough ball, turn it onto a clean surface sprinkled with flour.
- Knead the dough until it just comes together in a smooth-ish ball
- Cut into eight equal pieces and roll into rounds
- Preheat the pie iron. (Smoking is too hot; if yours is smoking, let it cool before adding the pie.)
- Flatten two dough pieces, one for the base and one for the top. Roll into oval shapes about the size of the pie iron
- Add the filling: spread the flattened dough with two tablespoons of tomato pesto, top with two slices of salami and two slices of cheese.
- Brush the edge of the bottom dough with water to moisten. Lay the second dough oval over the bottom and seal around the edges using a fork.
- Brush the top of the pie with olive oil, turn it over and place it in the bottom of the pie iron. Now brush the top of the pie with olive oil and close the pie iron lid. Place over a medium fire/heat for 5-7 minutes, turning every minute until done. I found it easy to open the pie iron to check the cooking progress after about 4 minutes.
- Remove, serve and repeat.
Cooking advice: While some bury the pie iron in red hot coals and hope for the best, I prefer to progress gently. Hold the iron over the fire, rotating it every minute to gently heat the sandwich all the way through, giving the outside a medium-brown finish. Open the pie iron every few minutes (on the level) to check the doneness. Please put it on a plate and start the next one when it looks good.
Once you and your camping crew start brainstorming what could go in a pie iron, the horizon of what is possible keeps rising. Planning a whole camping trip with just the pie iron as the main cooking implement is not unreasonable.
Envelope Options:
Pre-cooked Pizza shells
Soft tortillas
Tenderflake pre-made pie pastry
Pillsbury ready-to-cook puff pastry, biscuit or pastry dough
Pizza dough
Biscuit dough
Cornbread batter
Egg-dipped bread (as in French toast)
Cooked polenta
Optional fillings:
Salami, pizza sauce, mozzarella
Ham, cheddar, and mayonnaise
Roast turkey, Dijon mustard, and gouda
Shredded pork and hoisin sauce
Roast beef and gorgonzola
Hot capicola and mozzarella
Spanakopita filling
Cooked bacon, sausage or ham
Dessert Options:
Fried apple or peach halves
Bananas with brown sugar and rum (Bananas Foster)
Red or Black Plums with cinnamon sugar
Cherry pie filling
Cinnamon sugar, shopped dried apricots, butter
Fresh pineapple slices, butter and demerara sugar
Sliced Granny Smith apples and Camembert cheese
Related Articles
How to Successfully RV with Your Pet
What’s an adventure without your best friend? If you’re interested in RVing, you probably want to bring your pets — and you probably don’t want to pay to board them for weeks upon weeks. But travelling with pets can be a challenge, too....
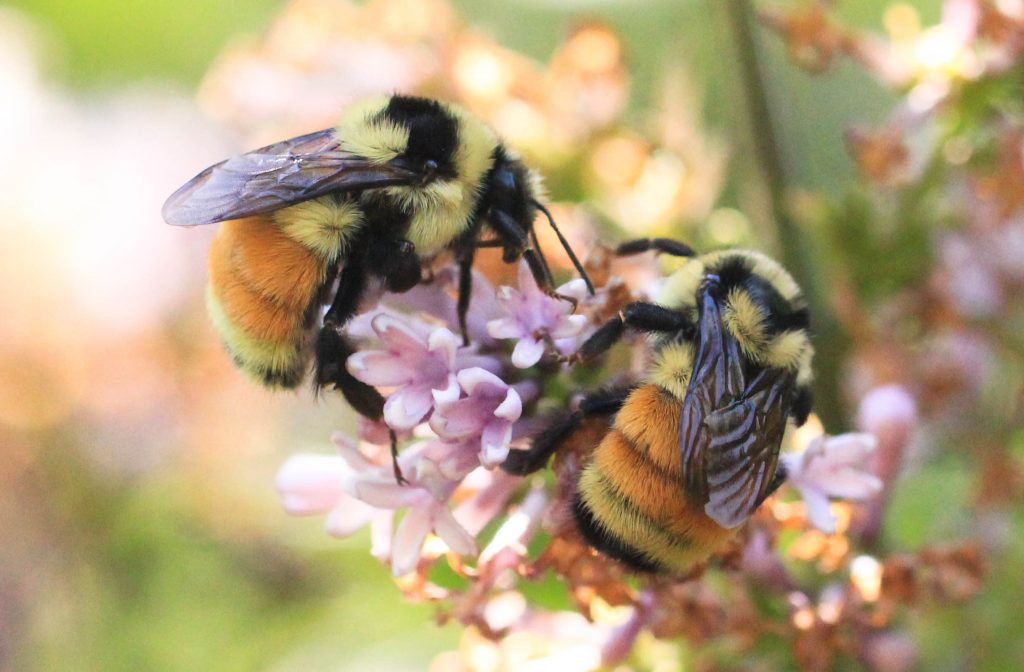
Bees and RVs
Blame it on the honeycomb display at Tournebroche Bistro in Québec City. We’d spent a few days at Camping Transit RV Park in Lévis, taking advantage of their complimentary shuttle service to the ferry to the heart of the Old City and to enjoy Chef Stéphane Roth’s...
What’s in Your RV’s Pantry? Learn How to Plan for Your Meals on the Road
My family’s favourite camping memories involve meals cooked over the fire, and several of our traditions have developed around them. My oldest son, now with three kids of his own, likes to raid the pantry, grill sausage, and cook a shared batch of mac &...

