
With the camping season winding down, you will find that winter is not far behind. This means it’s time to start thinking about winter storage for your RV. If you are a do-it-yourself kind of person, you can save by learning how to winterize your RV yourself. Regardless, if you do it yourself or take it to a RV dealership, it’s important to take the right steps to get your RV ready for storage. Proper maintenance and preparation will help keep your RV in good shape all year.
Whether you decide to store your RV inside or outside for the off-season, it is important to protect it from the elements for a prolonged life of your RV and a good ownership experience. If you decide to use a storage facility, be prepared to drop off in November and then not have access until April, it’s rare to find winter storage that provides year-round access flexibility.
Prep your RV’s exterior surfaces:
Clean and wax the exterior surfaces of your RV. Prolonged exposure to sunlight can cause a lot of problems in the future. It can fade your RV’s paint job, and do damage to its rubber and vinyl components.
Repair any tears, cracks, in the body and roof of your RV:
If undetected or untreated, water leaks can create mildew formation, and even structural damage to your RV. Water leaks happen long before you become aware of them and are very damaging to RVs in general. If you discover any suspected openings in your RV, seal them properly before putting it in storage.
Leave rooftop vents open:
You can eliminate the potential of unwanted musty odours by leaving your RV’s roof vents open, with a vent cover installed to keep the rain out.
Cover all vents or pipes that have openings to the outside:
Use expanding foam or silicone to plug any openings underneath your RV to keep out unwanted guests over the winter like mice. Also, a good idea to place traps inside as well, just in case!
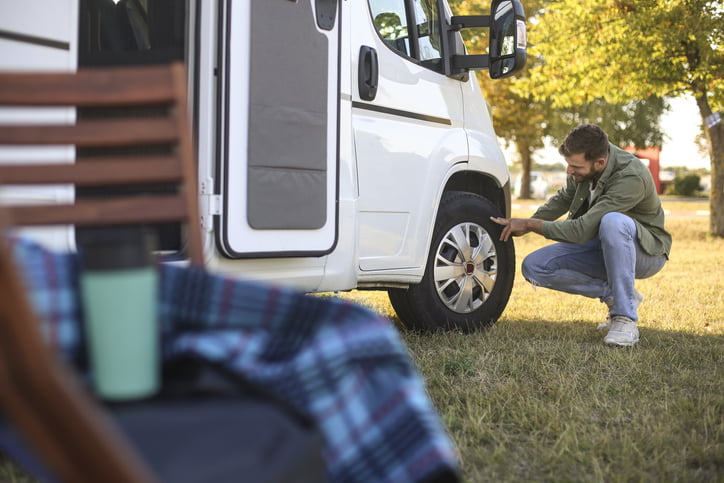
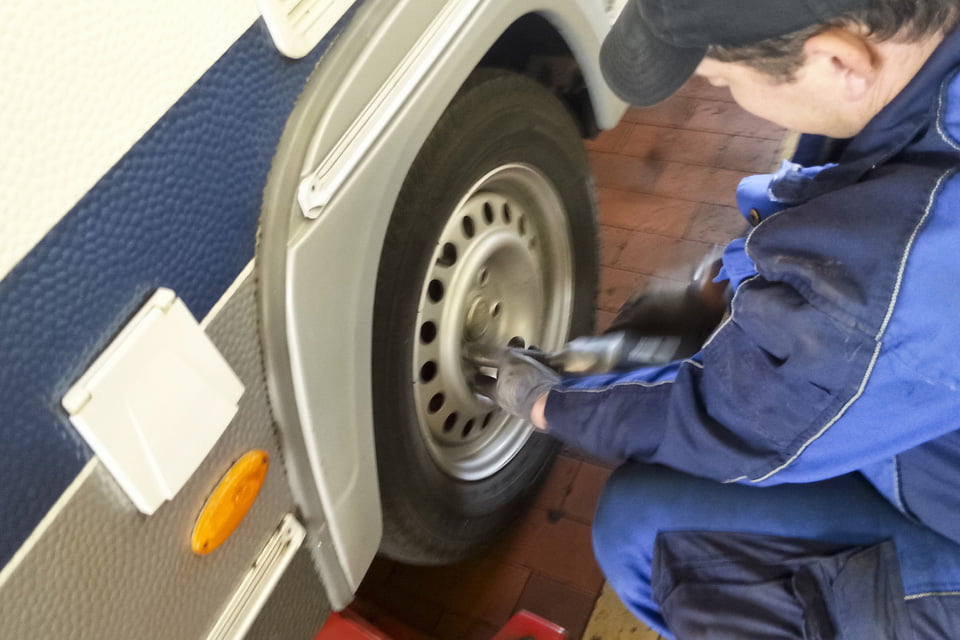
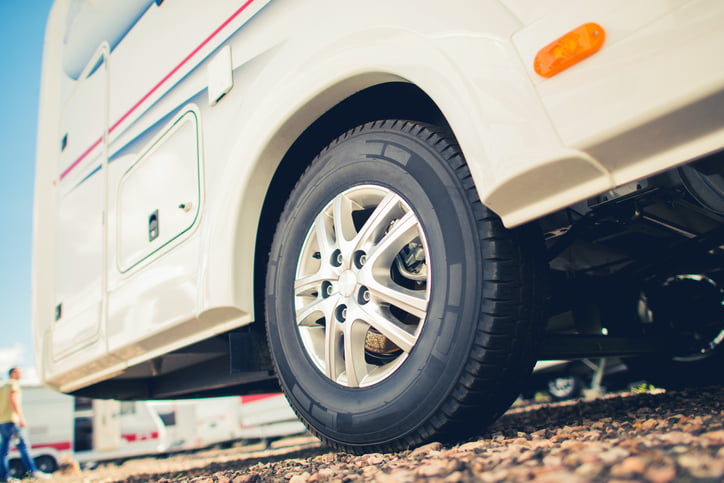
Inflate your tires to the recommended pressure:
To prevent weakening during storage, keep your RV’s tires inflated to the maximum pressure recommended by the manufacturer, and cover them to avoid prolonged exposure to sunlight.
Keep your RV covered:
Although not a necessity, it is highly recommended to cover your RV with cover made from breathable material to help protect it from the outside elements. The breathable fabric will allow enough air flow to keep mildew from growing underneath while in storage.
Wash your vehicle’s interiors thoroughly:
Giving the inside of your RV a good wash not only prepares it for the next travel season, it also rids the unit of any food particles or odours that might attract unwanted guests. This is also a good opportunity to discover any small openings to the outside which should be sealed to stop any pests from entering, such as any cracks around wires or cables. After doing your cleaning and inspection, leave the RV’s interiors as dry as possible to guard against mould.
Close the window blinds:
Prolonged sun exposure can bleach the colours right out of your RV’s interior fabric, such as carpets and upholstery. Use the daylight shades to help shield your interior from the sun’s rays, while still allowing light inside. Having some light filter in will have the effect of discouraging mould growth.
Keep your cabinets and closets open:
You should also defrost your refrigerator and freezer and keep your refrigerator door open. Put a box of baking soda inside the fridge to absorb any odours. Leaving all the doors open will help to prevent moisture and mould buildup.
Remove any items from your RV that will freeze:
Any liquid freezing in your RV can cause damage when it thaws, whether it’s pipes bursting or items like liquid soap, water bottles, pop, cleaners, etc., freezing can create a big mess inside, so better to remove them than be sorry.
Remove all possible food or nest material for pests:
Pests will not be attracted to an environment which doesn’t suit their needs, so make sure there is no traces of food, toilet paper, newspapers, soap, cleaning rags, etc. Also remove any fabric items like towels, sheets, or blankets.
Run antifreeze through your RV’s piping:
During Canadian winters, temperatures are expected to fall below zero just about anywhere. As a precaution, it’s a good idea to run antifreeze through your RVs pipes, including valves and drain traps. This step especially applies if you plan to store your RV outside, or at an unheated indoor storage facility.
Shut off the LP-gas valve:
Turn off the appliances, remove all fuses, including the gas leak detector, and the shut-off valve itself. Otherwise, fuses can needlessly cause battery drain throughout the off-season.
Remove your RV’s batteries:
It’s important not to allow your batteries to freeze, so disconnect them and store them safely in a dry, separate area with a heat source. Also, like fuses, dry cell batteries can passively consume power, even if the appliance in question is turned off. Check items like clocks and radios, and remove the batteries. This also eliminates the risk of battery corrosion, which can occur if items are not used for long periods of time.
Finally, check the owner’s manual:
Every RV is different, so you’ll want to check your owner’s manual for winterizing instructions specific to your model.
RVs are built to withstand Canadian winters but preparing and protecting your RV for winter correctly will help keep it in good shape until the next camping season.
1000 Islands RV Centre and Happy Green Acres Campground offer both indoor and outside RV storage. Visit Explorer RV Club to find RV dealers near you, and don’t forget to check out if they offer a discount for members on RV storage.
Related Articles
Your All-New and Revised 2021 RV Prep and Pre-Trip Planner
Campgrounds are finally opening (HOORAY!) and RVers are anxious to get out of the house and on the road. But before you rush off with your rig, be sure to do your pre-trip inspections as always. This year, it will be particularly important because RVs and motorhomes...
Tire Safety & Maintenance
Your tires are the main support for your RV and help to make sure you travel safely through a multitude of different road conditions each year. But even though they are one of the most important safety aspects of any vehicle, tires are often overlooked when it comes...
Preventing Blowouts in Your RV
Since RVs are typically not used as frequently as your everyday vehicle, they require extra stringent tire maintenance. Scroll down for some tips that will help you minimize your chances of a tire blowout when driving your RV. Make Sure Your Tires are Fully Inflated...

