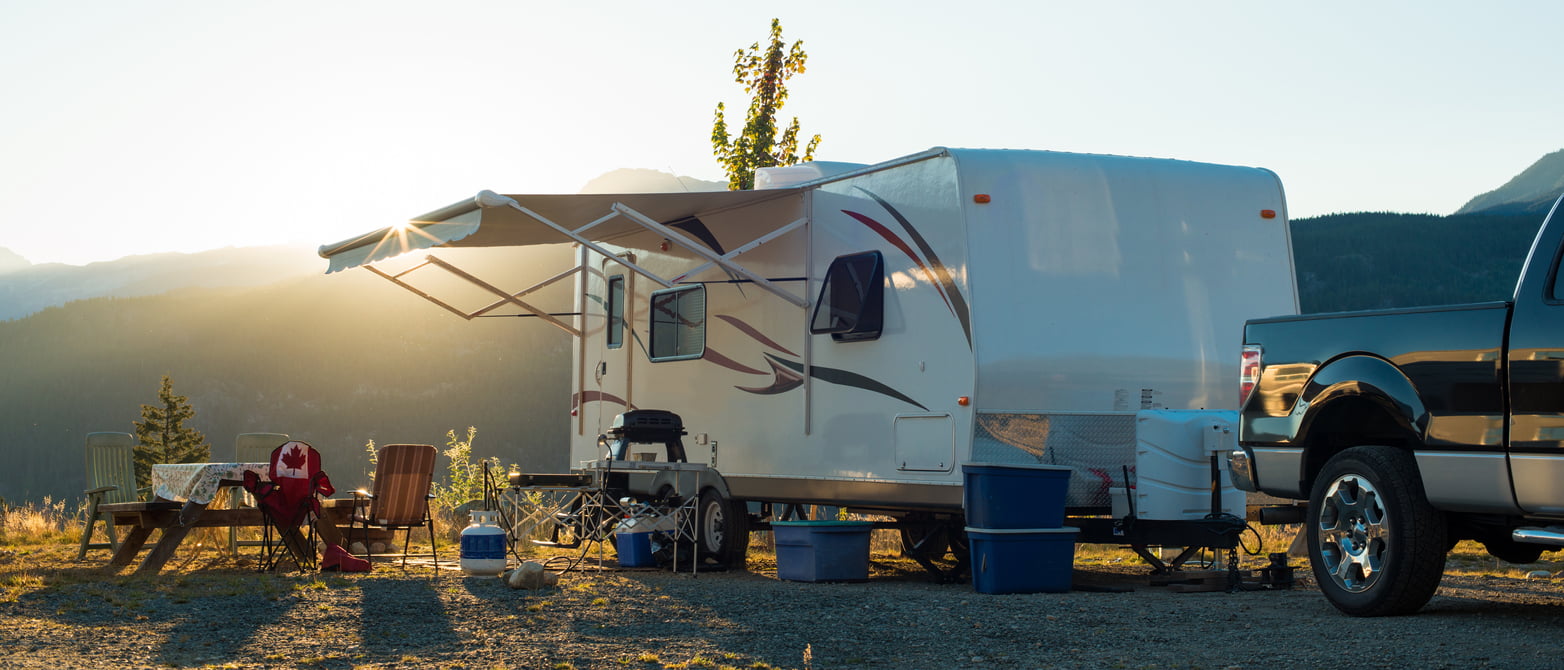
As the warmer spring weather approaches, most RV owners are feeling that familiar itch to get back out on the open road. But after spending a great deal of time and effort to properly winterize your RV, you may also be dreading the spring maintenance process. However, de-winterizing your RV doesn’t have to be a hassle when you organize the process into a few simple steps. Start getting ready to visit your favorite camping destinations today with our handy RV spring maintenance checklist!
How to Get Your RV Ready for Spring
- Begin with an Inspection
A good visual inspection of your RV is a great way to start your spring maintenance tasks. Walk around the unit with a pen and paper, highlighting any areas that need your attention. Some of the most important areas to inspect include:
- Exterior Trims
- Entry Doors
- Baggage Doors
- Exterior Caulking
- Clearance Lights
This is the ideal time to look for any areas where melting snow or rainwater may have caused a leak as well. If you notice any areas where the exterior caulking is peeling or cracking, add repair and replacement to your checklist.
- Roof Repairs
While it’s important to store your RV inside a storage facility or under an RV cover for the winter, there is always the chance that you could find some roof damage in the spring. Take the time to carefully inspect the caulking around vents, awning rails and stacks for any cracking or other issues. From there you should be able to clean the area and repair any minor cracks.
- Spring Clean
Once you’ve inspected the exterior for major issues and completed repairs, it’s time to clean your RV machine! Use a proper cleaner to wash away any dirt and grime that may have accumulated during the off-season and remember that it’s not safe to use a pressure washer on the roof.
- Battery
Next, you’ll need to test your battery and power up your RV. You should check that your battery has sufficient juice and replace it if necessary. Additionally, if you disconnected the battery for the winter, be sure to charge it completely before reinstalling it in your RV.
- Check the Water System
If it’s still early in the season and there’s a chance that the water system may freeze, you may want to consider packing water for short weekend trips. Otherwise, now is the perfect time to hook up the water supply and check your system. Remember to keep the bypass on the hot water tank in the STORE position as you flush out both the hot and cold water lines. Test one tap at a time, with the exception of an outside shower, where both taps can be flushed at once. This may also be a good time to full up and flush your hot water tank as well.
- LP Gas System
Make sure that you’ve filled your propane tanks. Next, you can use a soap and water mixture to double check that you don’t have any leaks on the propane connections or fittings. Inspect the interior components of the propane system as well. Start by lighting one burner on the stove. Once you have a single flame, you can start the remaining burners.
Keeping the stove lit, you can check the furnace and make sure that the flame on the stove decreases. This means that your regulator is working properly. Lastly, you can light the water heater and fridge. Uneasy with checking the propane system yourself? You can always take your RV into the dealer to have it checked professionally.
Now that you’ve taken care of the biggest RV maintenance steps, don’t forget to check-over your tow vehicle to make sure it’s ready for the camping season as well.
Related Articles
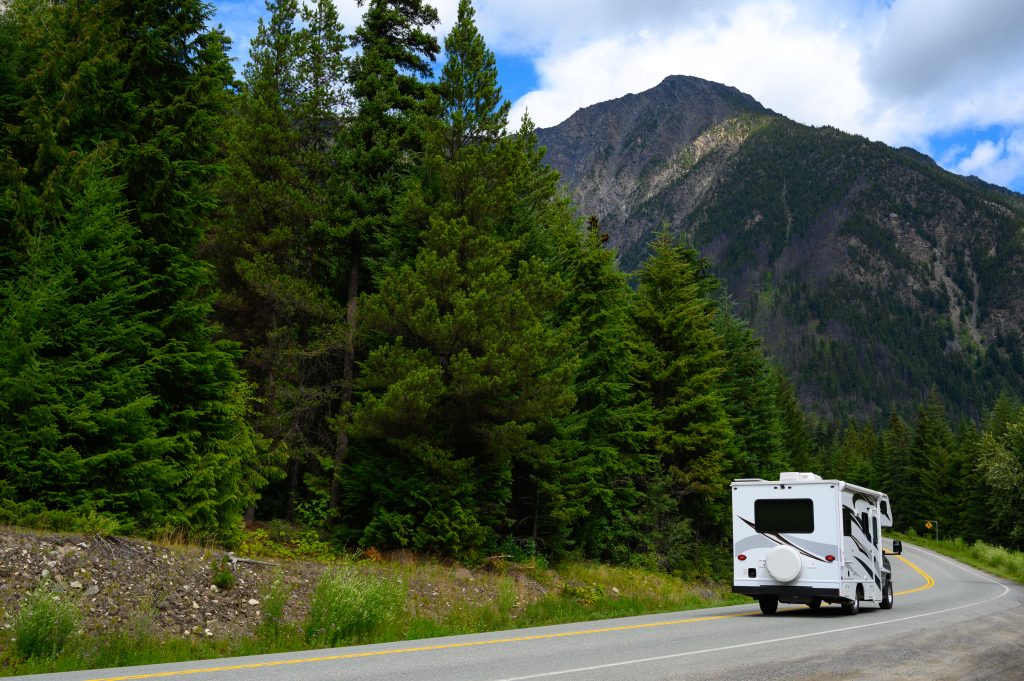
Be prepared: Getting ready to hit the road this season
It’s May, and the RV season is officially here! If you’re like me, you’re itching to get out on the road after such a long winter. But if we want a season that’s as safe and trouble-free as possible, we first need to do a little prep work. And for those of us in...
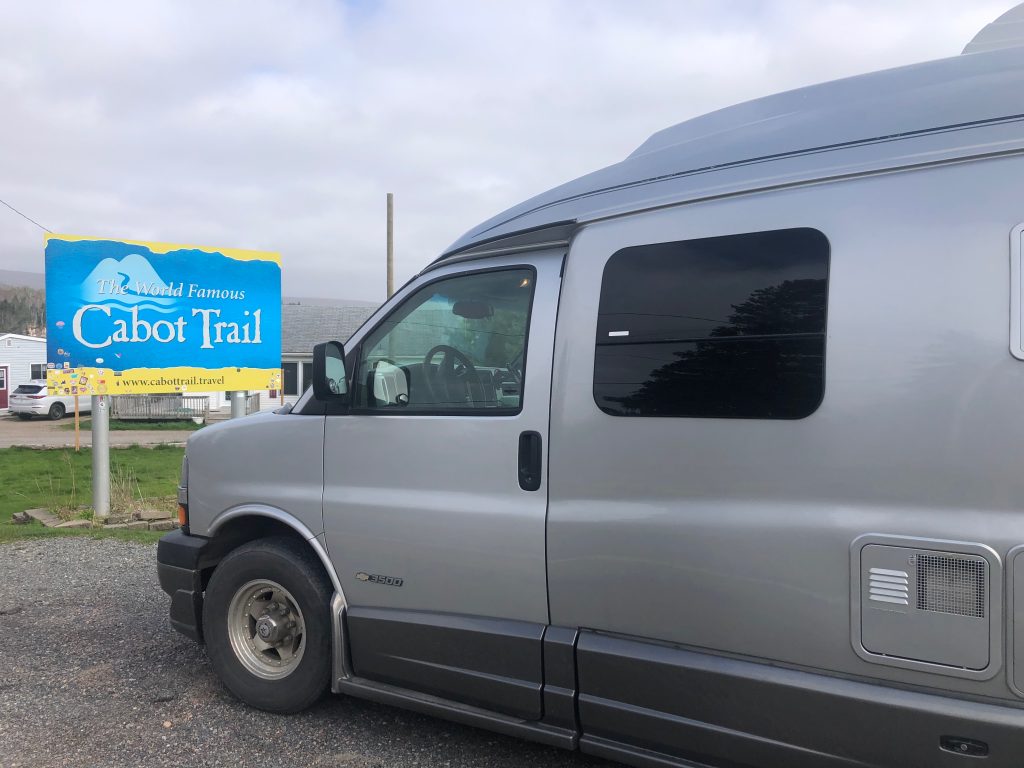
Savouring Cape Breton Island
When that itch for a scenic road trip hits hard, it’s a challenge to find a spot more delightful than Cape Breton Island, perched a short drive from mainland Nova Scotia. The island is renowned for the rugged coastline drive along the jaw-dropping Cabot Trail . . ....
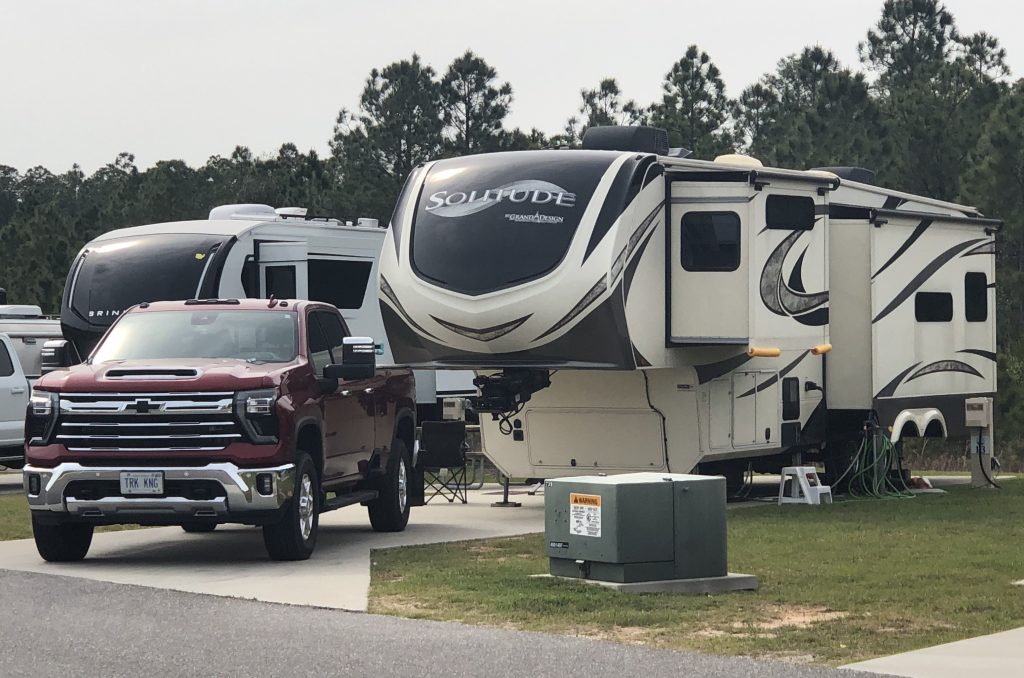
Why not Alabama?
We rolled into the border crossing in Detroit this past January, towing our 5th wheel trailer, stopped and handed over our passports to the Agent. He glanced at the trailer, then us - “Heading to Florida are you” he asked as he scanned the passports. “No, actually...

