Campgrounds are finally opening (HOORAY!) and RVers are anxious to get out of the house and on the road. But before you rush off with your rig, be sure to do your pre-trip inspections as always. This year, it will be particularly important because RVs and motorhomes have been sitting idle longer than normal.
If you’re new to RVing this year, as many are, a pre-trip inspection means just that – inspect your unit before the trip. In fact, make a point of doing this at least a week before departure, otherwise discovering a leaky water pump as you exit your driveway is going to put a serious cramp in your vacation.
Good maintenance is preventative maintenance, so check all the systems early and often. Do tests like checking the air conditioning and the stove, otherwise these pushed-aside problems will present themselves when you need them least, like when you’re hot and hungry and far from home. Recreational vehicles, whether trailers or motorhomes, have a myriad of systems, so using a detailed check list each and every time you do an inspection will ensure you don’t overlook anything. Keep and file these reports and you’ll have a maintenance log that will come in handy when you’re trying to remember when you last filled the propane, or how long it’s been since you changed the house battery.
The following list may be helpful in doing your pre-trip inspection, compiling your own comprehensive list or starting that maintenance log before your road trip goes downhill.
AUTOMOTIVE INSPECTION (Meaning your tow vehicle or motorhome)
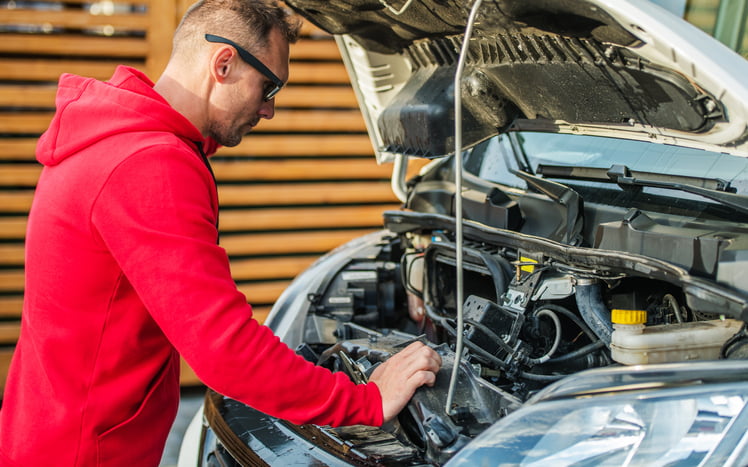
Get under the hood and do all the fluid and levels checks first.
- engine oil
- transmission fluid
- radiator coolant
- power steering fluid
- brake fluid level
- battery cell fluid level (*Tip – if the battery is of the sealed maintenance-free variety have it stress-tested annually)
- visually inspect belts, hoses and electrical cables for wear, leaks, tightness and fit.
TIRES (meaning those on your RV and tow vehicle)
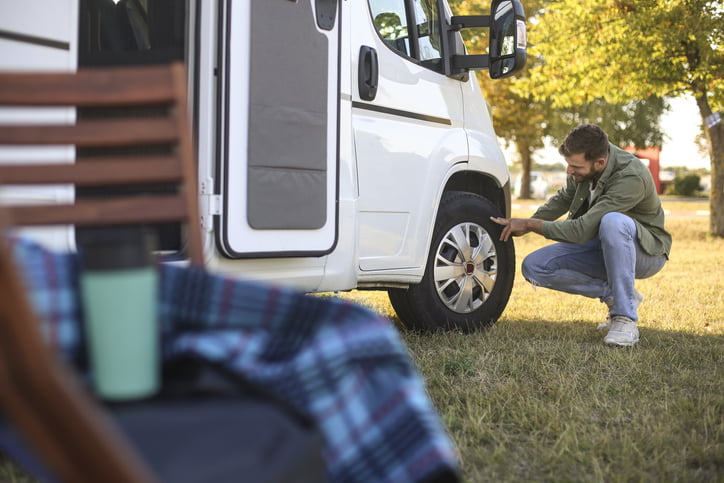
Tires are the main support for the RV, your tow vehicle, or both, so don’t overlook them. Air pressure is another very important check, too much can be just as dangerous as too little and weather, temperature and altitude will affect this. Tire tread is important but so is age. Don’t be fooled into thinking that low mileage on an old tire means it’s still safe, as tires do dry out and become brittle over time, often experiencing ‘dry rot’.
- check tire pressure cold, before your trip and during (always cold)
- check for uneven tread wear (this can tip you off to other potential mechanical problems that are wearing the tires)
- look for cracking in treads and sidewalls
- hand check lugs, for tightness and wear, every time you check the air pressure
LIGHTS AND CONTROL SYSTEMS
Either by circling your RV or with a partner’s help, check all the following:
- turn signals
- brake lights
- head lights (low and high beams)
- backup lights
- clearance lights
Tip* carry a rag and wipe lenses (and mirrors) as you check the lights. Bright lights are safe lights.
- start the engine and check that all gauges are operating
- check the wipers (not just that they work but also for wear)
- try the horn
- if your RV is equipped with air brakes, pump the pedal till the warning buzzer sounds and check to see that the pressure comes back to normal quickly.
ON BOARD RV SYSTEMS CHECK
Tip* by checking systems in the same order each time you will create a habit. One more assurance that a crucial check won’t be missed.
AUXILIARY BATTERY
- check connections for corrosion
- observe fluid level in cells
- if checking with a hydrometer, for most batteries, 1.270 is a full charge reading
- if you have solar panels installed check the meter to see that they are charging.
INTERIOR LIGHTS
- try them all, on DC (house battery), connected to shore power (AC), and with the generator running (if so equipped)
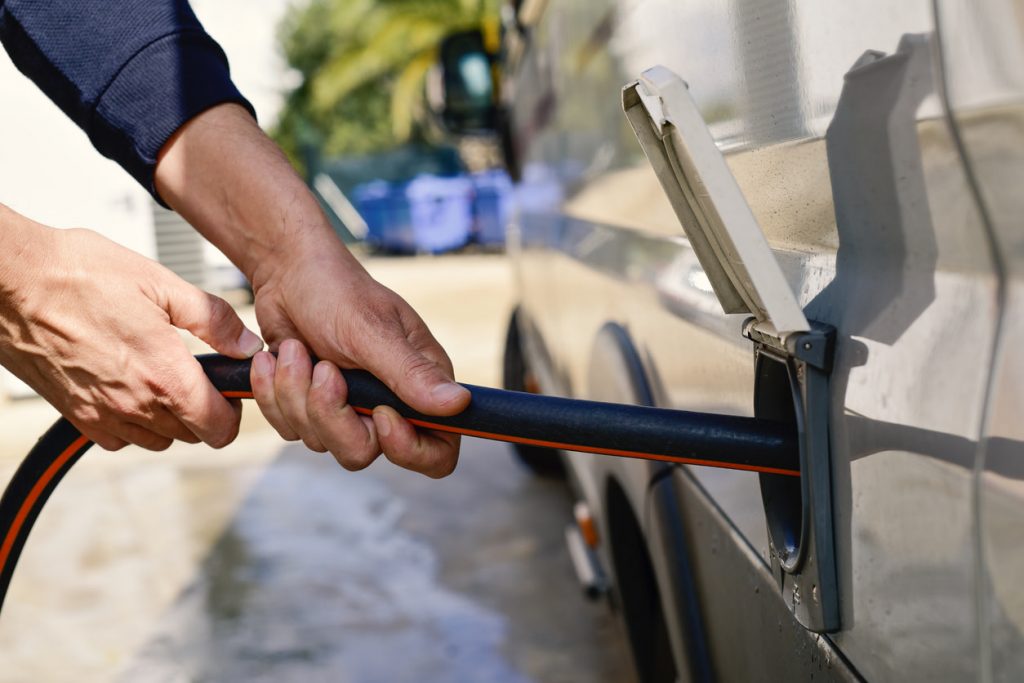
LP GAS SYSTEM
All liquid propane systems are made up of three parts, the supply, the delivery system and the appliances. Checking the system is composed of answering three questions:
- Is there propane in the tank?
- Does the propane flow to the appliances?
- Do the appliances light and work?
Tip* If you’re concerned about a leak; follow your nose, propane has an unmistakable odour. If you suspect a leak, use a soap and water solution brushed on the valve, fitting or line to give away the leak by blowing bubbles where the gas is escaping. But! don’t attempt to repair gas systems yourself. Take them to a qualified RV mechanic.
THE WATER SYSTEM
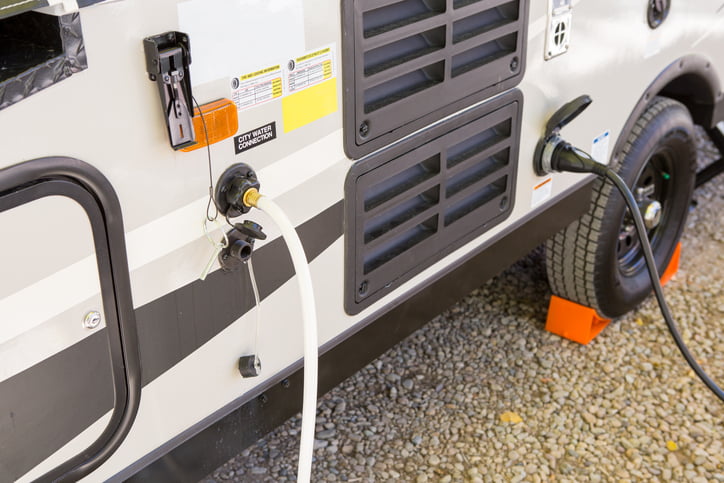
At the end of your last trip you should have dumped all the tanks (including the fresh water) so you will be starting out empty. Remember that stagnant water can grow algae, and though you can dump this water, plastic water tanks can absorb the odour and contaminate the next fill-up.
Start by filling your fresh water tank from a known source. *Tip Some popular advice often includes putting teaspoon of bleach into the fill hose just before you turn on the city water so it will sanitize the hose and tank. A water purifier attached to the kitchen tap is also a good investment. Once full, run the pump and open all the taps to run water into the lines and the hot water tank. This will also purge the air out of the lines. Dump some water into the toilet, shower and sink traps to prevent odours from rising up through the plumbing. Make a habit of doing the following:
- keep your fresh water full
- visually check the water lines and demand pump for leaks
- make sure fill valves are closed when not in use
THE WASTE TANKS
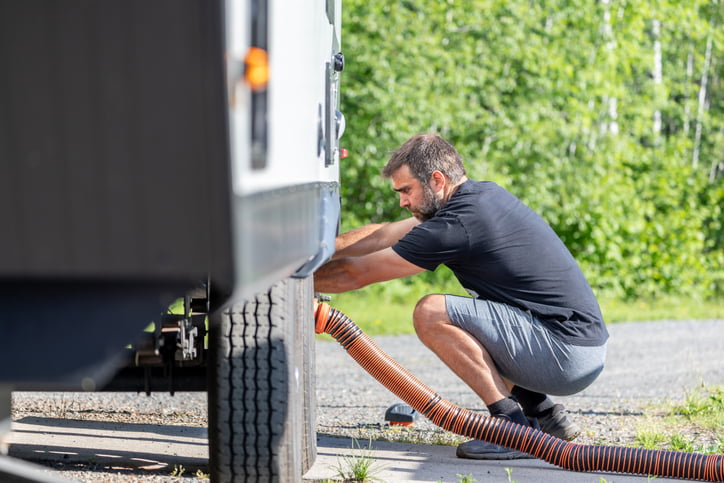
Dump your waste as often as possible. It’s that simple.
So before you set out:
- dump valves closed and dump caps on and sealed
- dump hose clean and in place
- tanks empty
- deodorant added
- water run into all plumbing traps and the toilet bowl
Tip* When you are hooked up to a campground sewer system don’t leave your dump valves open. Instead, leave your dump hose connected while your tanks fill but only dump them when they are full. The force of the water will carry the solids and suspended material out of the tank, whereas if you leave the valves open, the water will drain away and leave the solids behind to build up, dry out and clog your tanks.
A MECHANICAL EMERGENCY KIT
Most RVs today are efficient and for the most part trouble free, but there will always be the need for minor adjustments and repairs, so a well-stocked toolkit should be a priority item. Occasionally, that toolkit can save you a big tow bill by keeping you going until you can get to a proper service centre. The items that follow are pretty much the main must-haves for your toolkit.
Tip* If you don’t have a tool, chances are one of your neighbours in the campground does, so make friends! Just be prepared for a lot of free advice with the loan of the tool and always remember to return!
- Socket wrench set 3/8 or 1/2- inch drives
- Screwdrivers (three sizes of Phillips)
- pliers, needlenose, adjustable, electrical
- claw hammer
- crow bar
- duct tape
- open end wrench set
- adjustable wrench
- crimping and wire stripping tool
- flashlight
- hacksaw
- tire pressure gauge
- circuit tester
- electrical tape
- utility knife
- lubricant (WD-40)
Lastly, keep this Pre-Trip Checklist handy for every trip and keep a copy folded in the glovebox or emergency kit. Then, all that’s left is to have a fun and safe summer out there!
Related Articles
How to Repair a Broken Water Line in Your RV
If you have a broken water line in your RV, you must promptly complete repairs before continuing on your travels. Ignoring even the slightest leak can result in a huge mess and severe water damage in a short period of time. Mold could even start to grow, sidelining...
Spring Truck Maintenance
Springtime is a busy season for most truck owners across the nation as they begin to prepare for many months of travel and adventure. It’s time to shake off the last of the winter snows and get ready to get out and enjoy the many perks of owning a truck. But where...

Is it True You Should Never Change Your Tires on the Side of the Highway?
A flat tire is one of the most common vehicular breakdowns. Whether on your tow-vehicle or RV, a flat is an experience that just about every driver will experience in their driving lifetime. Because of this, it’s important to consider what you are going to do about...

