There is a good reason the Dutch oven was one of the must-haves when the early European settlers first started making their way across the North American continent. The Dutch oven was nearly indestructible; it would bake, boil, fry, sear, simmer, and roast nearly anything you needed to cook – and it cleaned up with just plain hot water. If you can handle the added weight in your gear, it is a must-have for cooking at basecamp too. Whether exploring rock faces or chasing autumn elk, the Dutch oven will help feed your crew efficiently. This piece of equipment masters everything from biscuits to Jambalaya, rye bread to peppercorn venison, and scrambled eggs to apple pie––you can do it all in a Dutch oven.
Here are a few quick tips on:
- Selecting the right size and style of Dutch oven for your needs
- Start cooking great grub on live fire
- A review of what optional equipment adds the most flexibility to the oven
The Dutch Oven Defined
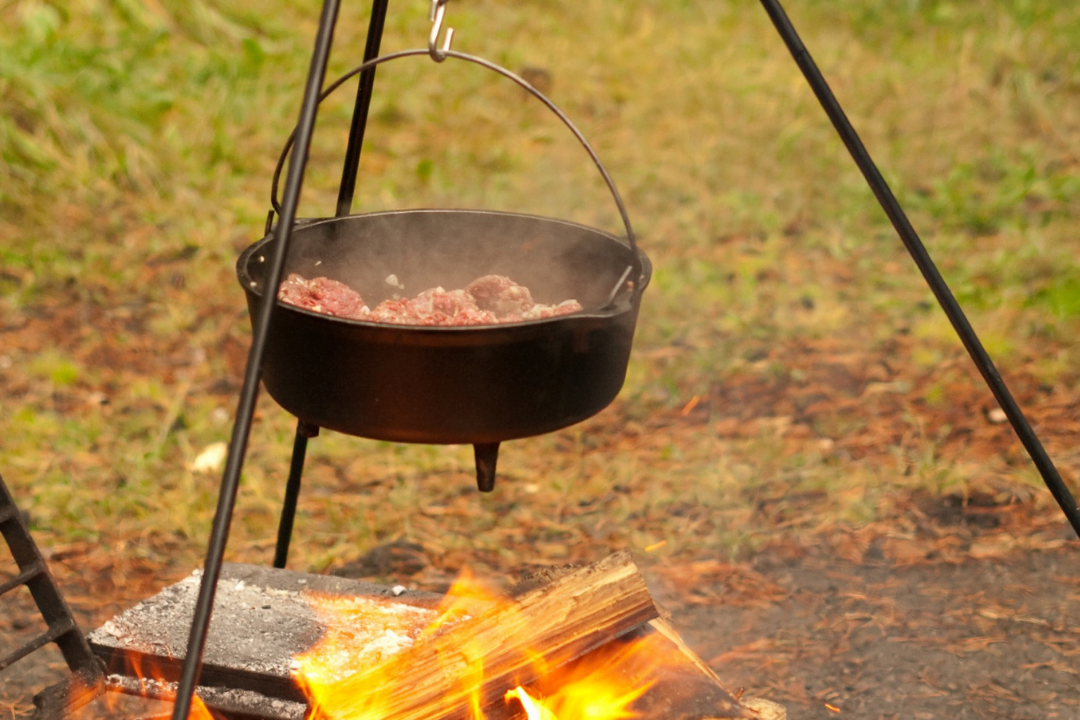
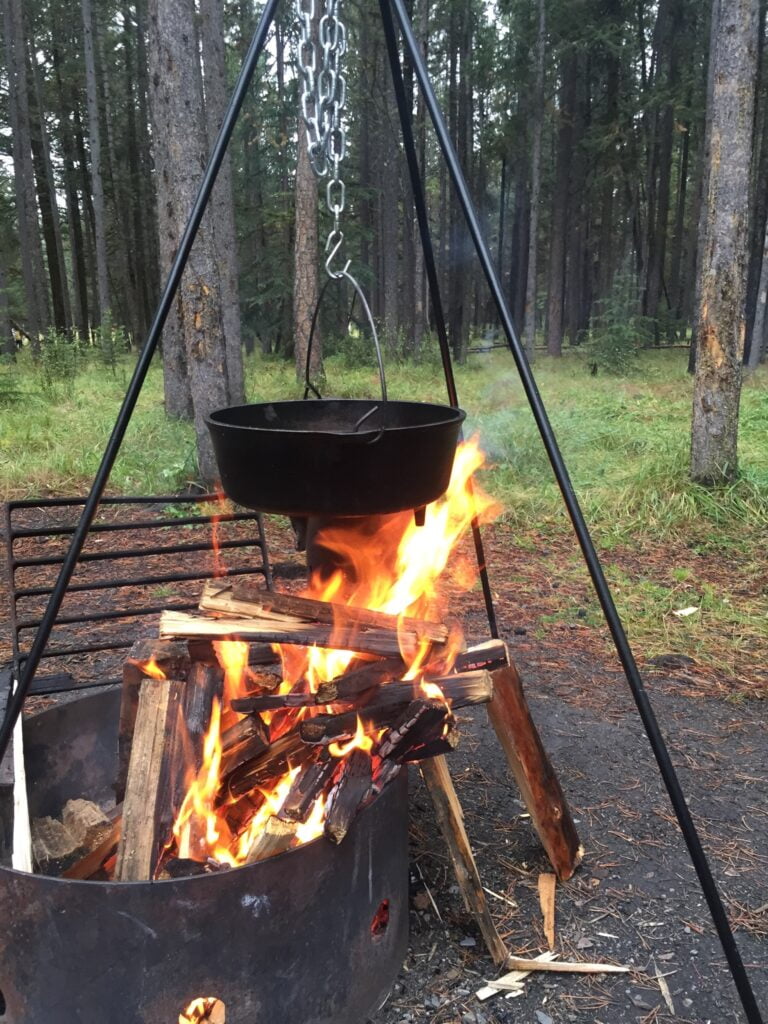
A Dutch oven is basically a cast iron pot that is wider than it is deep, with a bale handle and a tight-fitting lid. Dutch ovens come in two basic categories: three-legged for cooking with (over and under) live coals or briquettes, and a flat-bottomed variety meant to be used on a flat-top stove or burner. The cast iron lids are specifically designed to go with the Dutch ovens: the three-legged ovens come with a rimmed lid to hold live coals or briquettes on top of the oven. These lids can be inverted and used as a dome-shaped griddle to sear bacon or fry eggs. The flat-bottomed Dutch oven comes with a plain dome-shaped lid. Either oven can be slung over live fire on a tripod.
This is the three-legged oven slung over the fire. A flat bottom pot can be used the same.
How to Choose your Dutch Oven
Once you choose the style of oven that suits you best, the next choice is to pick a shallow or a deep oven. The shallow ovens hold the heat closer to what’s being baked, so if you want to bake biscuits or bread, the shallow oven would be your first choice. If you are more likely to make stew, roast meats, or do casserole-type dishes for your crew, you likely want the deeper versions.
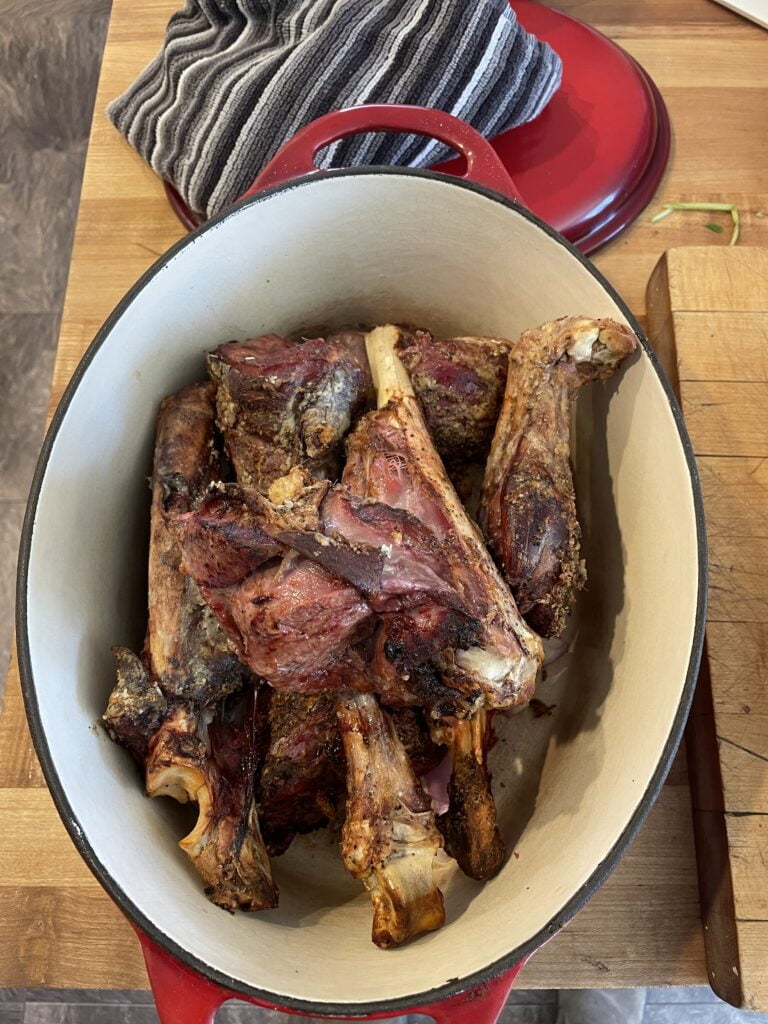
My enamelled Dutch ovens stay at home for things like braised osso buco.
Then it’s on to choosing oven size. There are a variety of sizes suited to feeding just a pair of diners or a whole rugby team. I like the 12” inch variety, which is perfect for 4-6 diners. It’s worth pointing out that it is fine to own more than one. I have five, including a couple of enamelled ones that I use at home for baking sourdough and braising osso buco.
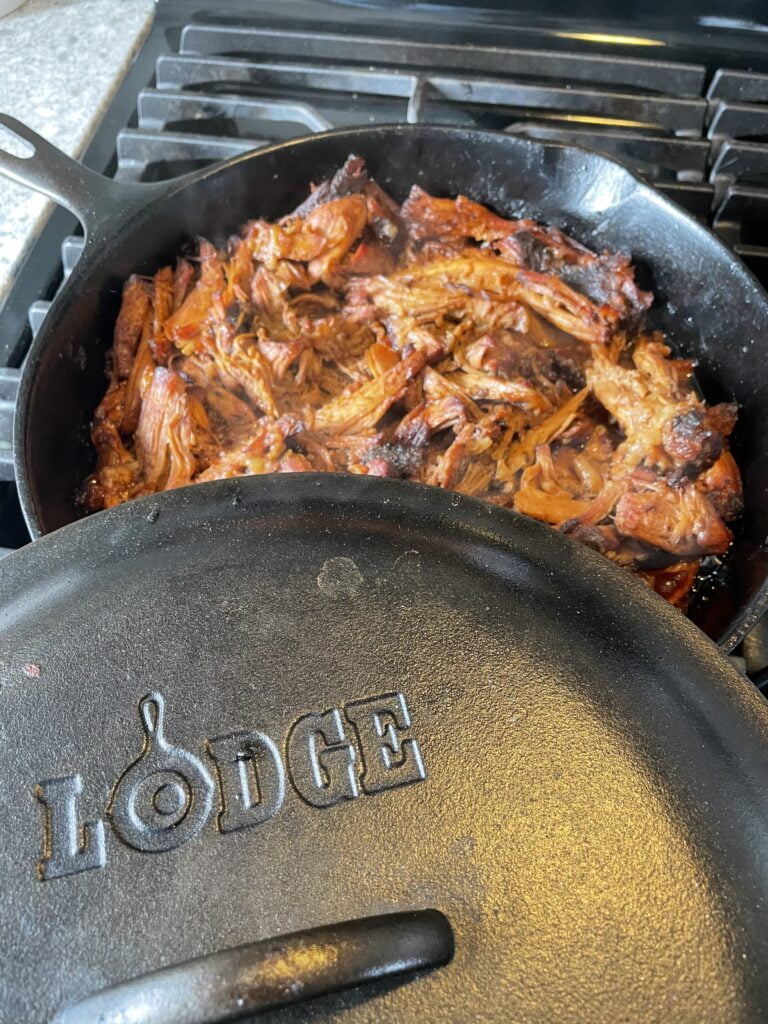
Pulled pork is a camp favourite in the cast iron.
You can find excellent cast iron Dutch ovens by long-time manufacturers like Lodge and Camp Chef. Keep your eye out at garage sales. There are some fine decades-old ovens that come up from time to time. I bought a Wagner cast iron when I was 16 years old, and it is still in weekly use.
Calibrate your Dutch Oven
A formula in the Lodge cast iron Dutch oven manual tells you how to ‘set’ your oven. It goes like this:
The number of briquettes required to cook is equal to the diameter of the Dutch oven times two, plus two to yield a bake temperature of 350F. This seems random and arbitrary, but two decades of cooking on cast iron will confirm this works. Conduct your own research, make notes, and adjust your process as required.
The rest of the math works like this:
Formula (12” diameter oven x 2 = 24 briquettes. Add 2 = 26 briquettes total). Light these up in a briquette fire starter chimney, put one third of the briquettes (8) below and two thirds (18) on top, and the resulting temperature will be very close to 350F.
Note: For every ten degrees of desired temperature increase, add one briquette.
Let’s say you want to cook biscuits at 400F in your 12” oven. Here is how that math works:
12” diameter oven x 2 + 2 + 2 + (50 F / 10 = 5) for a new total of 31 coals. Put 11 briquettes underneath and the rest on top.
Presto! You have a 400F oven.
And that’s how you ‘calibrate’ a Dutch oven!
What Can I Make in a Dutch Oven?
- Use it as a skillet with no lid
- Brown burgers
- Cook sausages
- Make spaghetti sauce
- Bake biscuits or buns
- Fry chicken
The more you use the Dutch oven, the more you will become comfortable predicting how the oven works with a variety of meals and products. Our family’s Dutch oven is the central cooking piece every trip out.
Accessories and Tools:
Some tools give Dutch oven users the right solutions to specific issues and keep everyone safe at the same time. A few helpful additions could include:
Lid Lifter: This is a wrought iron tool that looks a little bit like a poker, but it is perfectly designed to pick up a lid full of hot coals.
Camp Dutch Oven Tote Bags: These bags are oven size-specific and keep your oven protected. What I find is that these bags give protection wherever your oven is stored. Dutch ovens can be sooty after hours on a fire, and these bags keep ovens separated well from the stored spaces.
4 in 1 Dutch Oven Tool: I call this a spyder, and it is the perfect folding base to support a flat bottom oven, so you can put coals underneath it, or to use an inverted domed lid as a griddle. You can also use it to rest a smoking hot lid or pot during service.
Wooden Spoon: I have a strong preference for wooden spoons, and my camping gear includes various sizes and shapes that I have come to enjoy over the years. Conduct your own research and act accordingly.
Chainmail Scrubbing Pad: One of the most familiar brands of Dutch ovens you’ll see on the market today, Lodge makes this somewhat pricey part that I have found is irreplaceable for cleaning up. In its absence, you can use a stainless-steel scrubber.
Stainless Steel Tongs: Being a commercial food guy, my preference is for 12 and 18” heavy commercial food services type tongs. No wimpy stuff in our camp.
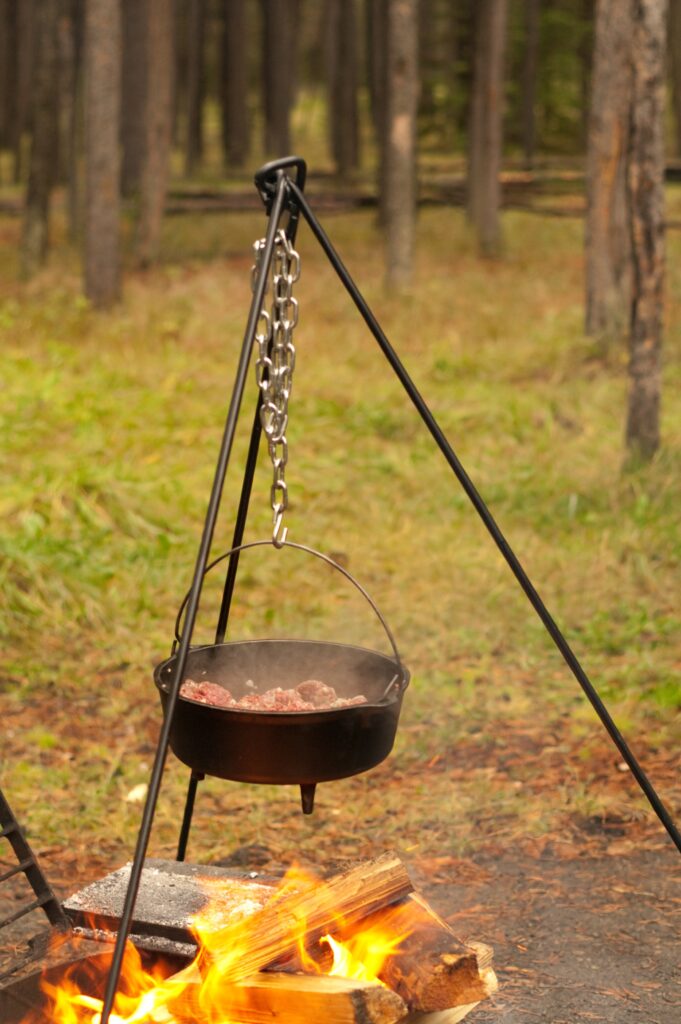
This is the three-legged oven slung over the fire. A flat bottom pot can be used the same.
Tripod: Lodge and others make a wrought iron trip pod that comes with an adjustable chain to hang the Dutch oven over the fire or coals. This is a great addition to a campsite kitchen and gives another level of cooking flexibility.
Conditioner or Oil: The last step in caring for cast iron is wiping it down with conditioner or oil to protect it from rust. Various manufacturers have proprietary blends which all work well. Coconut oil well rubbed into the iron happens to work well too.
A big part of enjoying the outdoors is preparing your meals out of doors too, and we use the Dutch oven to accomplish this in spades. Enjoy the process of getting to know the capabilities of your new Dutch oven and create new recipes and memories of camping out with friends and family by a fire.
Related Articles

A Walk Above the Trees
With its snow-capped mountains and blue ocean, no wonder Vancouver has been voted one of the best cities in the world to live in. The Capilano River RV Park is situated in the best position for easy exploring. It was hard to believe that only a few months...

RVing With the Kids: The Prairies, Western, and Northern Canada
Make your family vacation a memorable one with RVing through Canada’s Prairies, West, and North. Get the most out of your trip with tips for planning and staying safe on the road with your kids.
Be prepared: Getting ready to hit the road this season
It’s May, and the RV season is officially here! If you’re like me, you’re itching to get out on the road after such a long winter. But if we want a season that’s as safe and trouble-free as possible, we first need to do a little prep work. And for those of us in...

